Salted Caramel Cheesecake – Creamy, Comforting, and Crowd-Pleasing
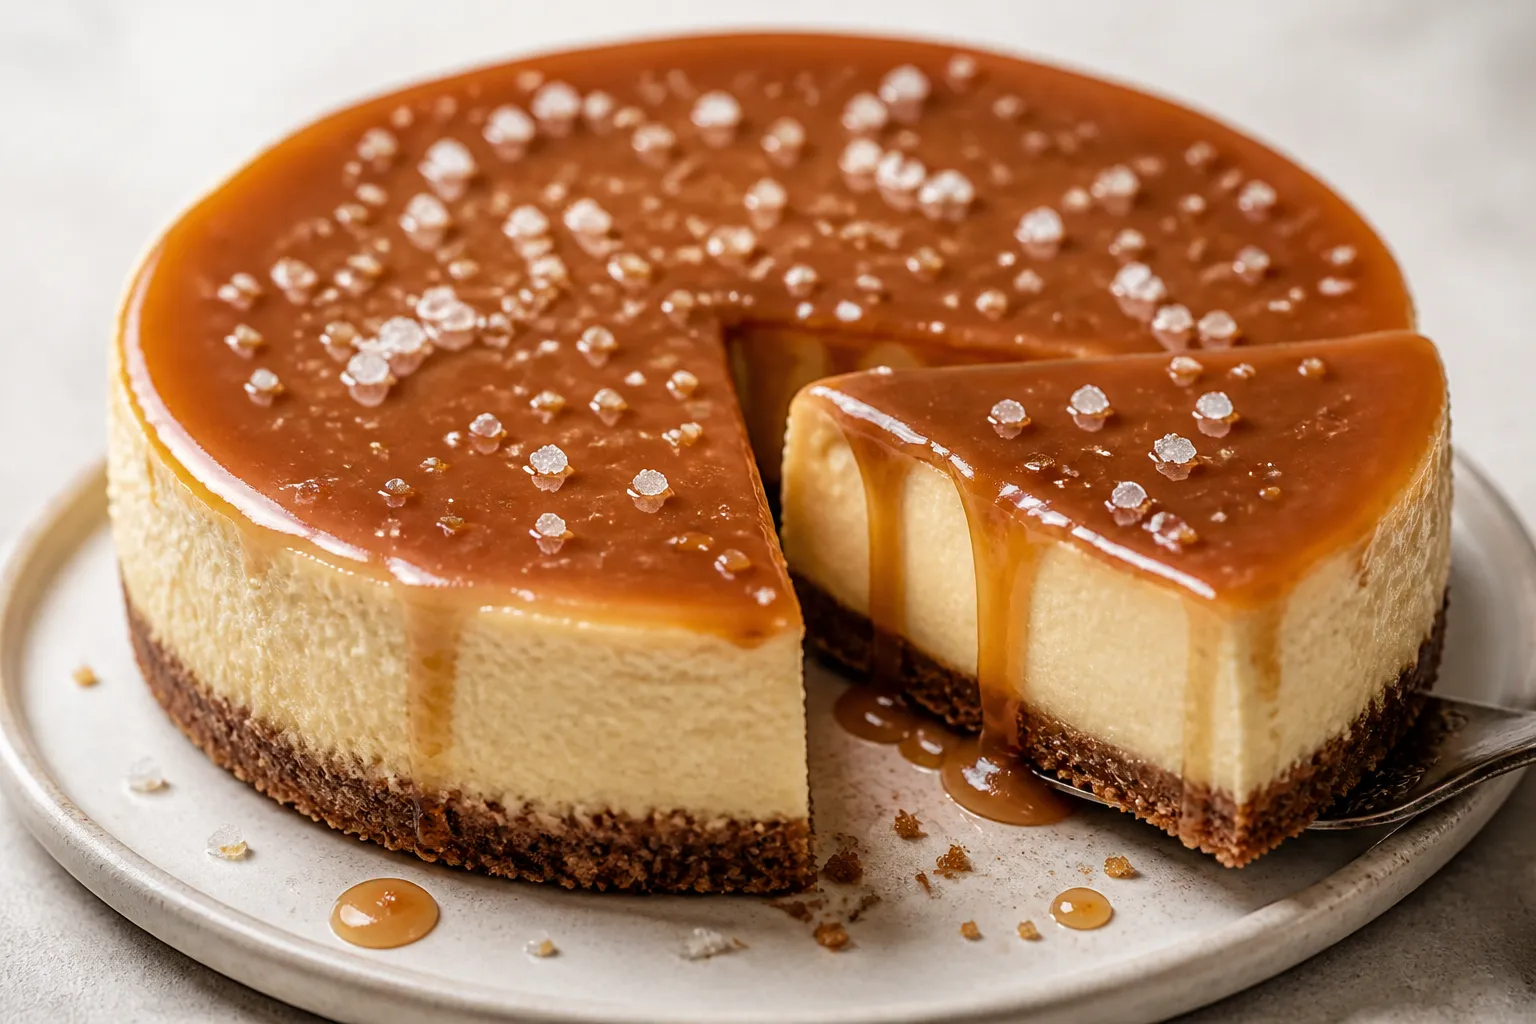
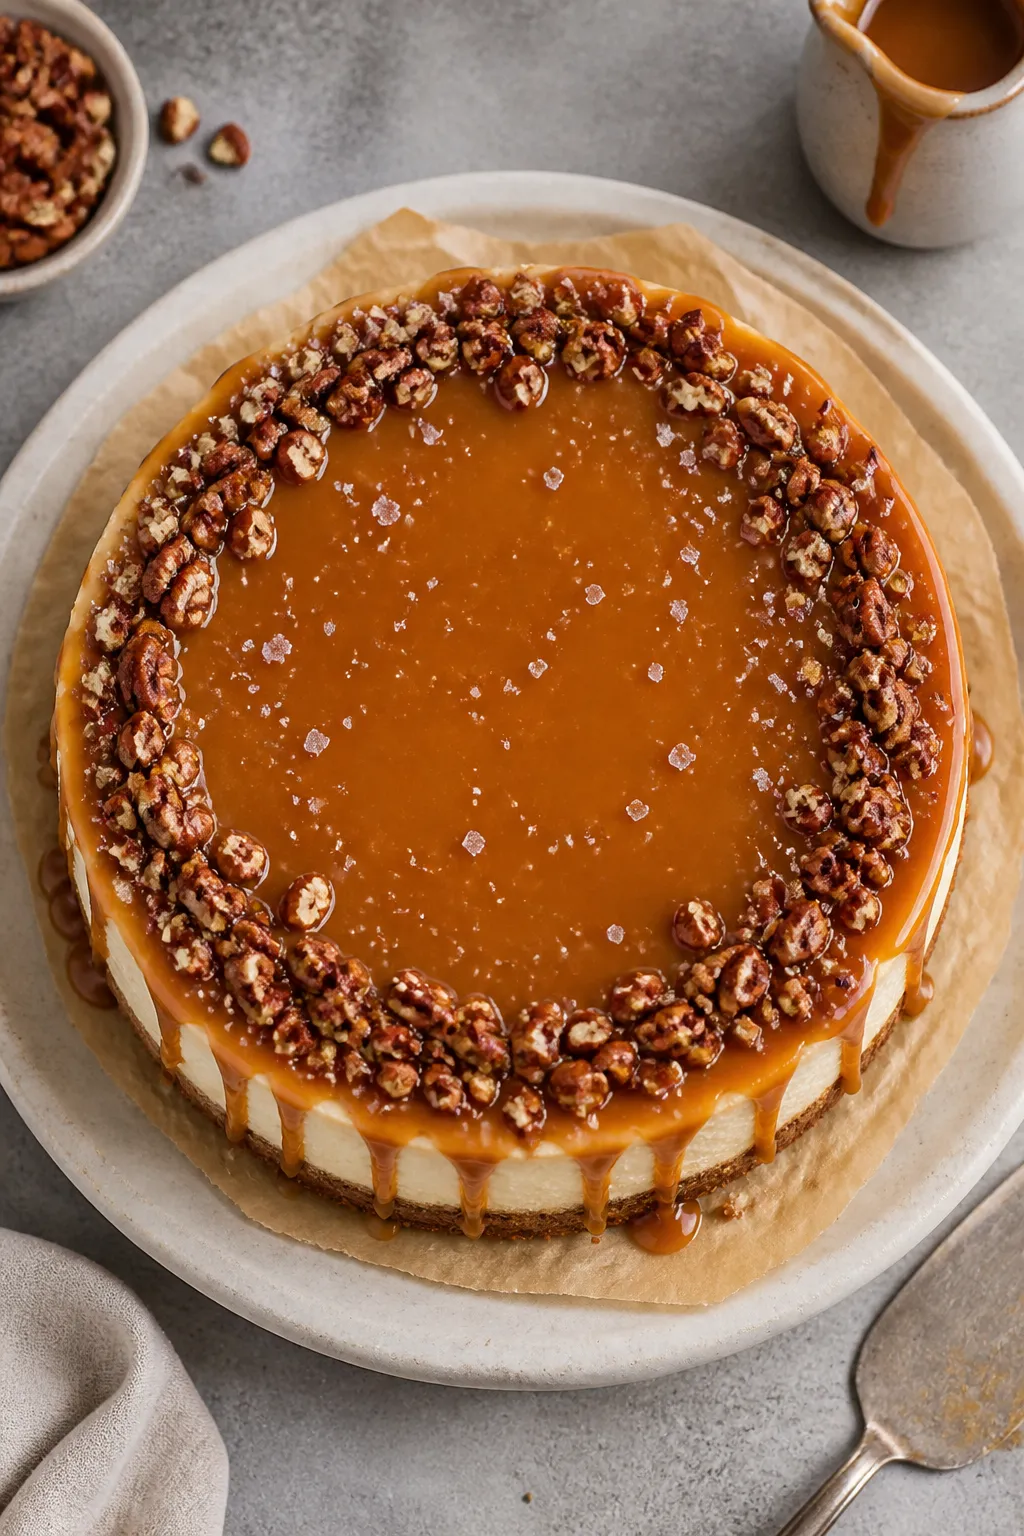
This Salted Caramel Cheesecake brings together a silky cream cheese filling, a lightly crunchy cookie crust, and a glossy layer of buttery caramel with just the right hit of salt. It’s the kind of dessert that makes people pause after the first bite and go back for seconds. You don’t need fancy tools or pastry skills—just a little patience and a good set of steps.
Whether you’re celebrating or just craving something special, this cheesecake delivers every time.
Ingredients
Method
- Prep the pan: Grease a 9-inch springform pan and line the bottom with parchment. Preheat oven to 325°F (160°C). Set a rack in the center.
- Make the crust: Stir graham crumbs, sugar, and salt in a bowl. Add melted butter and mix until evenly moistened. Press firmly into the bottom and slightly up the sides of the pan. Bake for 8–10 minutes, until lightly golden. Cool while you make the filling.
- Beat the cream cheese: In a large bowl, beat cream cheese on medium speed until smooth and lump-free, about 2 minutes. Scrape the bowl.
- Add sugar and sour cream: Beat in sugar until combined, then mix in sour cream, vanilla, and salt. Keep the speed low to avoid adding too much air.
- Add eggs: Beat in eggs one at a time on low speed, just until incorporated. Scrape the bowl once more. The batter should be silky and thick.
- Fill and smooth: Pour the batter over the cooled crust. Tap the pan gently on the counter to release air bubbles. Smooth the top with an offset spatula.
- Bake low and slow: Bake at 325°F (160°C) for 45–55 minutes. The edges should look set, and the center should have a slight wobble, like set Jell-O. Do not overbake.
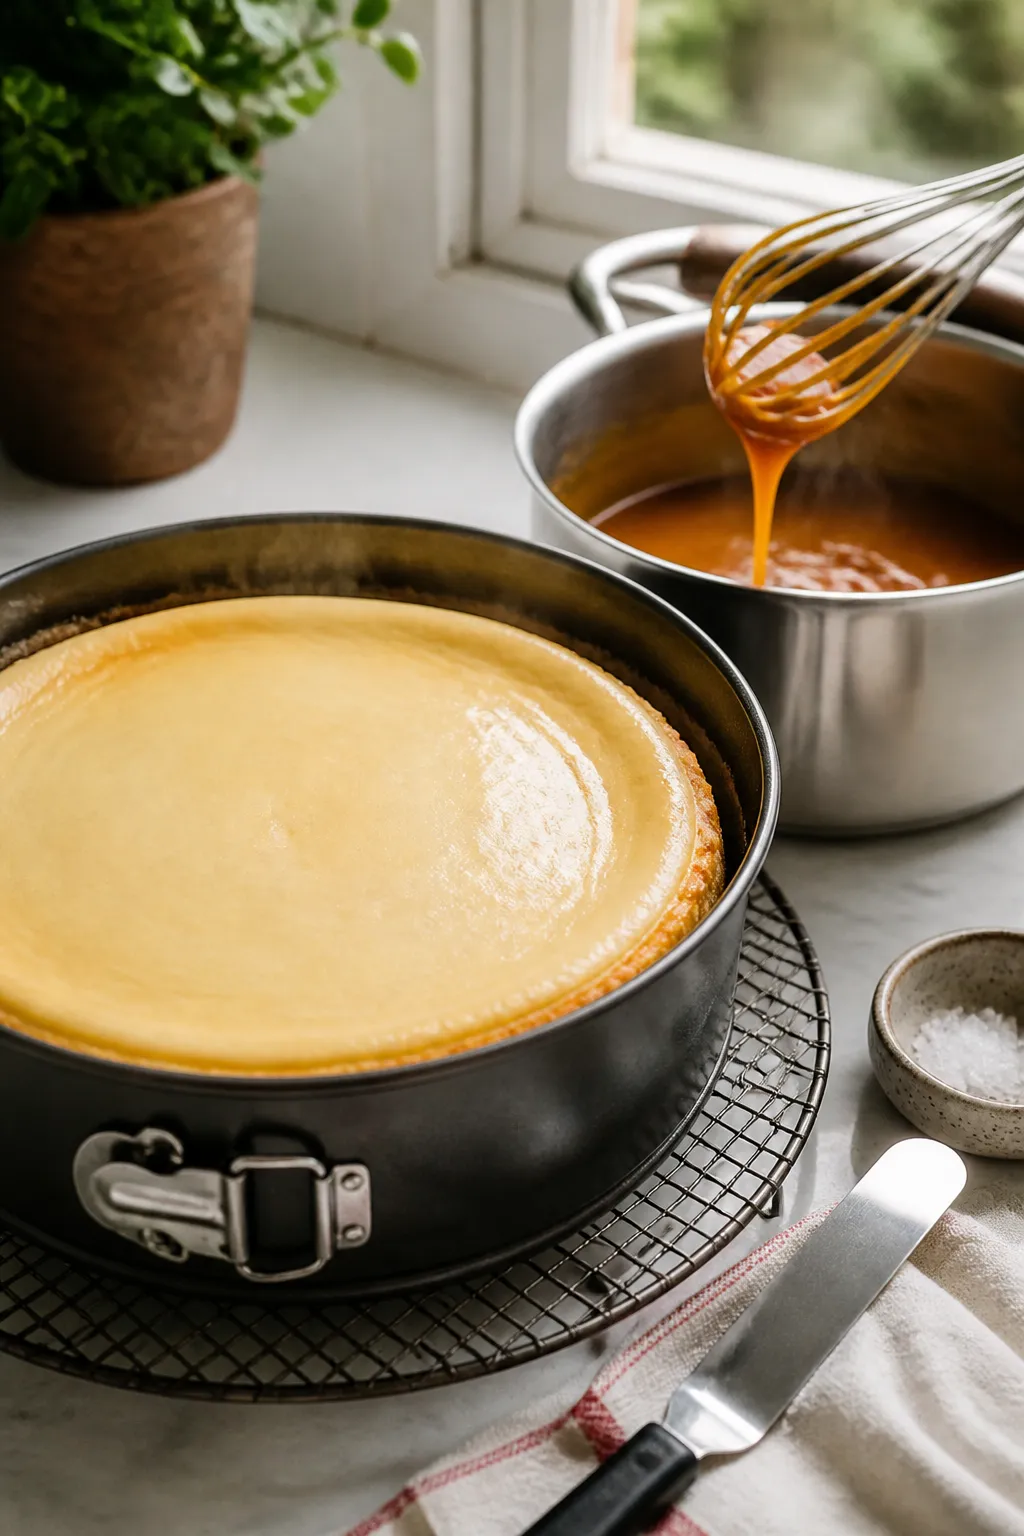
- Cool gradually: Turn off the oven and crack the door. Let the cheesecake rest inside for 30 minutes. Move it to a cooling rack and cool to room temperature, about 1–2 hours.
- Chill to set: Cover the pan and refrigerate at least 6 hours, preferably overnight. This step is essential for a clean, creamy slice.
- Make the caramel: Add sugar to a dry, light-colored saucepan over medium heat. Let it melt, stirring occasionally once it begins to liquefy. Cook until it reaches a deep amber color.
- Add butter carefully: Whisk in butter cubes. The mixture will bubble vigorously. Keep whisking until smooth.
- Finish with cream and salt: Remove from heat, slowly whisk in heavy cream, then vanilla. Stir in flaky sea salt to taste. Let cool until thick but pourable.
- Top the cheesecake: Release the chilled cheesecake from the pan and transfer to a serving plate. Pour cooled caramel over the top, nudging it toward the edges for slight drips. Sprinkle a pinch of flaky salt.
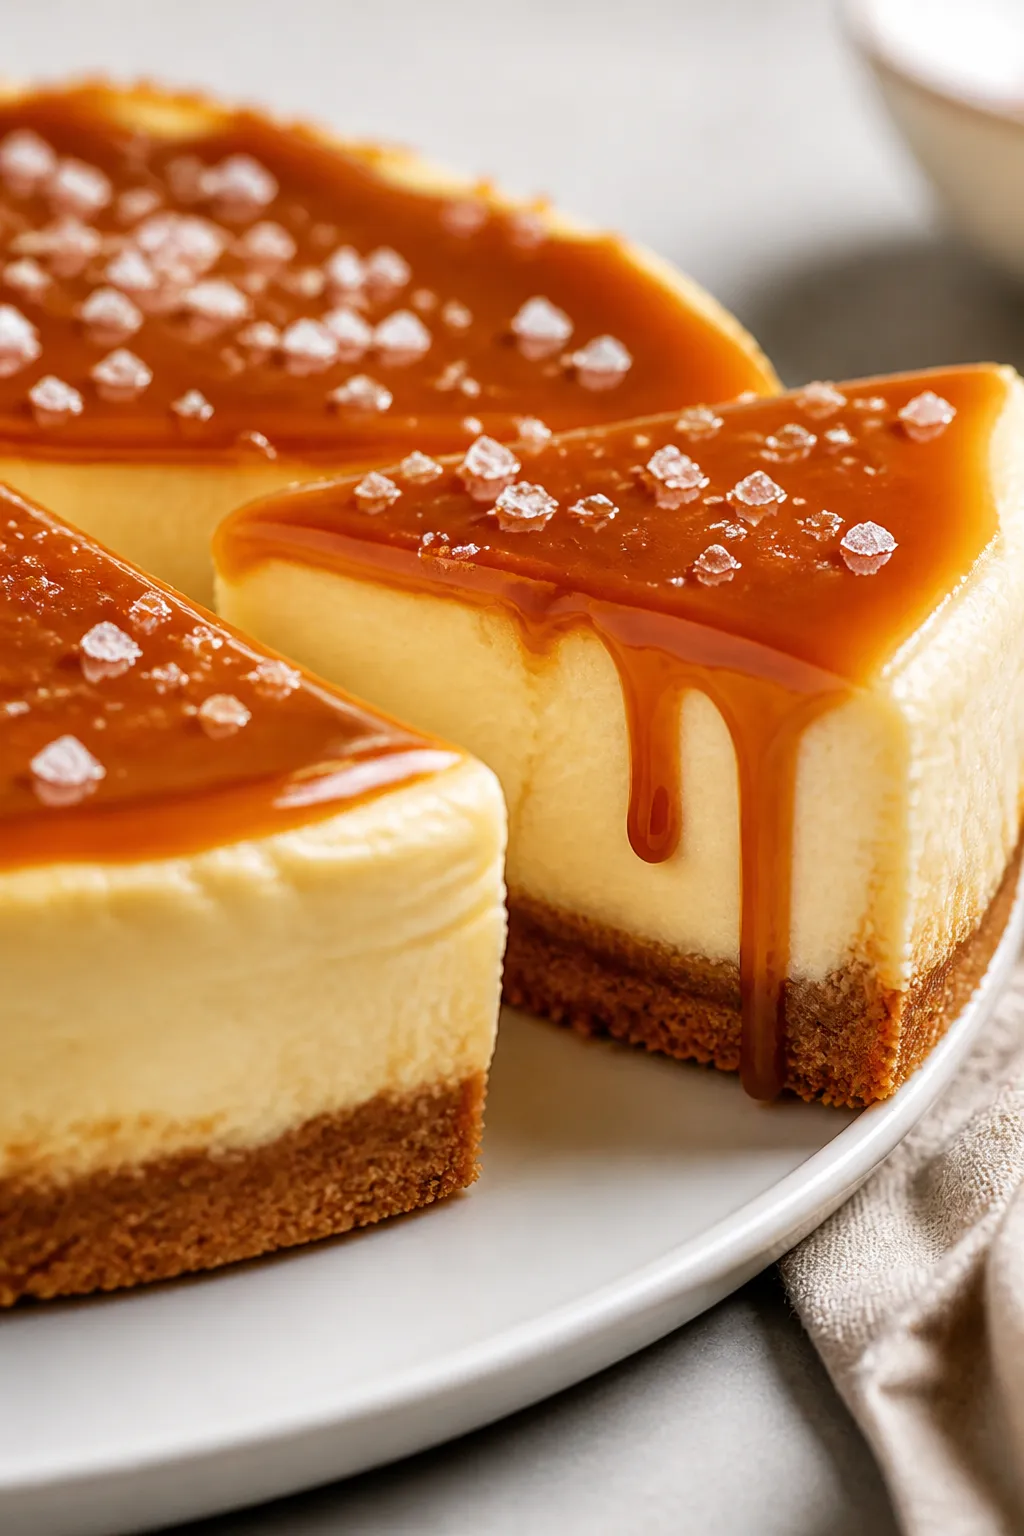
- Slice and serve: Warm a sharp knife under hot water, wipe dry, and slice cleanly. Serve as is or with a dollop of whipped cream.
What Makes This Recipe So Good
- Balanced flavors: The sweetness of caramel meets a gentle tang from cream cheese and a clean hint of salt. It’s rich but not cloying.
- Great texture: Creamy center, crisp crust, and a smooth, glossy caramel topping for contrast.
- No water bath stress: A simple low-and-slow bake with a cool-down strategy helps prevent cracks without a messy water bath.
- Make-ahead friendly: Cheesecake sets best overnight, so it’s perfect for planning ahead.
- Adaptable: Swap crusts, tweak the caramel, or add toppings to fit your taste and pantry.
What You’ll Need
- For the crust:
- 1 3/4 cups (about 175 g) graham cracker crumbs (or digestive biscuits)
- 2 tablespoons granulated sugar
- 1/2 teaspoon fine sea salt
- 6 tablespoons (85 g) unsalted butter, melted
- For the cheesecake filling:
- 24 oz (680 g) full-fat cream cheese, softened to room temperature
- 1 cup (200 g) granulated sugar
- 1/2 cup (120 g) sour cream, room temperature
- 3 large eggs, room temperature
- 1 teaspoon pure vanilla extract
- 1/4 teaspoon fine sea salt
- For the salted caramel:
- 1 cup (200 g) granulated sugar
- 6 tablespoons (85 g) unsalted butter, cut into cubes, room temperature
- 1/2 cup (120 ml) heavy cream, room temperature
- 1 teaspoon vanilla extract
- 1/2 to 1 teaspoon flaky sea salt (to taste), plus more for garnish
- Optional garnish: Extra flaky sea salt, whipped cream, or a drizzle of chocolate
Instructions
- Prep the pan: Grease a 9-inch springform pan and line the bottom with parchment. Preheat oven to 325°F (160°C).
Set a rack in the center.
- Make the crust: Stir graham crumbs, sugar, and salt in a bowl. Add melted butter and mix until evenly moistened. Press firmly into the bottom and slightly up the sides of the pan.
Bake for 8–10 minutes, until lightly golden. Cool while you make the filling.
- Beat the cream cheese: In a large bowl, beat cream cheese on medium speed until smooth and lump-free, about 2 minutes. Scrape the bowl.
- Add sugar and sour cream: Beat in sugar until combined, then mix in sour cream, vanilla, and salt.
Keep the speed low to avoid adding too much air.
- Add eggs: Beat in eggs one at a time on low speed, just until incorporated. Scrape the bowl once more. The batter should be silky and thick.
- Fill and smooth: Pour the batter over the cooled crust.
Tap the pan gently on the counter to release air bubbles. Smooth the top with an offset spatula.
- Bake low and slow: Bake at 325°F (160°C) for 45–55 minutes. The edges should look set, and the center should have a slight wobble, like set Jell-O.
Do not overbake.
- Cool gradually: Turn off the oven and crack the door. Let the cheesecake rest inside for 30 minutes. Move it to a cooling rack and cool to room temperature, about 1–2 hours.
- Chill to set: Cover the pan and refrigerate at least 6 hours, preferably overnight.
This step is essential for a clean, creamy slice.
- Make the caramel: Add sugar to a dry, light-colored saucepan over medium heat. Let it melt, stirring occasionally once it begins to liquefy. Cook until it reaches a deep amber color.
- Add butter carefully: Whisk in butter cubes.
The mixture will bubble vigorously. Keep whisking until smooth.
- Finish with cream and salt: Remove from heat, slowly whisk in heavy cream, then vanilla. Stir in flaky sea salt to taste.
Let cool until thick but pourable.
- Top the cheesecake: Release the chilled cheesecake from the pan and transfer to a serving plate. Pour cooled caramel over the top, nudging it toward the edges for slight drips. Sprinkle a pinch of flaky salt.
- Slice and serve: Warm a sharp knife under hot water, wipe dry, and slice cleanly.
Serve as is or with a dollop of whipped cream.
Storage Instructions
- Refrigerator: Cover tightly and store for up to 5 days. Keep caramel-topped cheesecake chilled.
- Freezer: For longer storage, freeze without caramel. Wrap slices in plastic, then foil.
Freeze up to 2 months. Thaw overnight in the fridge and top with fresh caramel before serving.
- Caramel sauce: Refrigerate leftovers in a jar for up to 2 weeks. Warm gently to loosen before using.
Why This is Good for You
- Portion satisfaction: The richness helps you feel satisfied with a modest slice, curbing the urge to overindulge elsewhere.
- Steady energy: The protein and fat from cream cheese can help balance the quick hit of sugar from caramel.
- Made from basics: Simple, recognizable ingredients let you control sweetness, salt, and add-ins.
- Mental boost: Sharing a special dessert brings joy and connection, which is part of a balanced lifestyle.
Pitfalls to Watch Out For
- Overmixing the batter: Too much air can cause cracks.
Mix on low and stop when just combined.
- Overbaking: A fully firm center means it’s overdone and can taste dry. Pull it when the middle still jiggles slightly.
- Skipping the cool-down: Rapid temperature changes cause cracks. Follow the gradual cool and chill times.
- Caramel scorching: Sugar can burn fast.
Use medium heat, a light-colored pan, and watch closely for color changes.
- Cold dairy in caramel: Cold butter or cream can seize the caramel. Let them warm to room temp for a smoother finish.
Variations You Can Try
- Chocolate cookie crust: Use chocolate wafer crumbs or Oreos (without cream) for a deeper, brownie-like base.
- Bourbon caramel: Stir 1–2 tablespoons of bourbon into the finished caramel for warmth and complexity.
- Salt levels: Adjust flaky salt to taste. Try smoked salt for a subtle savory note.
- Nut crunch: Scatter toasted pecans or hazelnuts over the caramel for texture.
- Mini cheesecakes: Bake in a muffin tin with liners, 16–20 minutes, then cool and top with caramel.
- Gluten-free crust: Use gluten-free graham crackers or almond flour (add a bit more butter to bind).
FAQ
How do I prevent cracks without a water bath?
Let the cheesecake bake at a moderate temperature, avoid overmixing, and follow a slow cool-down: rest in the turned-off oven with the door cracked, then cool to room temperature, and chill overnight.
These steps do most of the heavy lifting.
Can I use store-bought caramel?
Yes. Choose a thick, high-quality sauce and stir in a pinch of flaky sea salt to taste. Warm it slightly so it pours smoothly but isn’t hot.
What if my caramel seizes or gets grainy?
If the caramel clumps when adding cream, return it to low heat and whisk gently until smooth.
If it’s gritty, you can add a tablespoon of water and reheat carefully to dissolve crystals.
Do I have to use full-fat cream cheese?
Full-fat gives the best texture and flavor. Reduced-fat can work but may be softer and less silky. Avoid fat-free—it tends to be gummy and bland.
How do I get clean slices?
Use a sharp knife warmed under hot water.
Wipe the blade between cuts. Chilled cheesecake slices far better than one that’s been at room temperature too long.
Can I make it ahead?
Absolutely. The cheesecake is best made a day in advance.
Add caramel within a few hours of serving for the cleanest finish.
What pan size works best?
A 9-inch springform is ideal. An 8-inch pan works too; bake a bit longer. For a 10-inch pan, expect a slightly shorter bake time.
In Conclusion
This Salted Caramel Cheesecake hits that sweet spot where comfort meets elegance.
With a crisp crust, velvety center, and glossy salted caramel, it feels bakery-special without the fuss. Follow the slow-cool approach, keep an eye on your caramel, and let the fridge do the final magic. Bake it for birthdays, holidays, or any time you want a guaranteed crowd-pleaser.
One slice, and you’ll see why it becomes a go-to.
Printable Recipe Card
Want just the essential recipe details without scrolling through the article? Get our printable recipe card with just the ingredients and instructions.
About the Author

Brandon D
Blogger/Fitness & Wellness Coach
I create quick, healthy, family-friendly recipes that make dinner simple, delicious, and stress-free.