Chocolate Peppermint Cheesecake Bars – Festive, Creamy, and Crowd-Pleasing
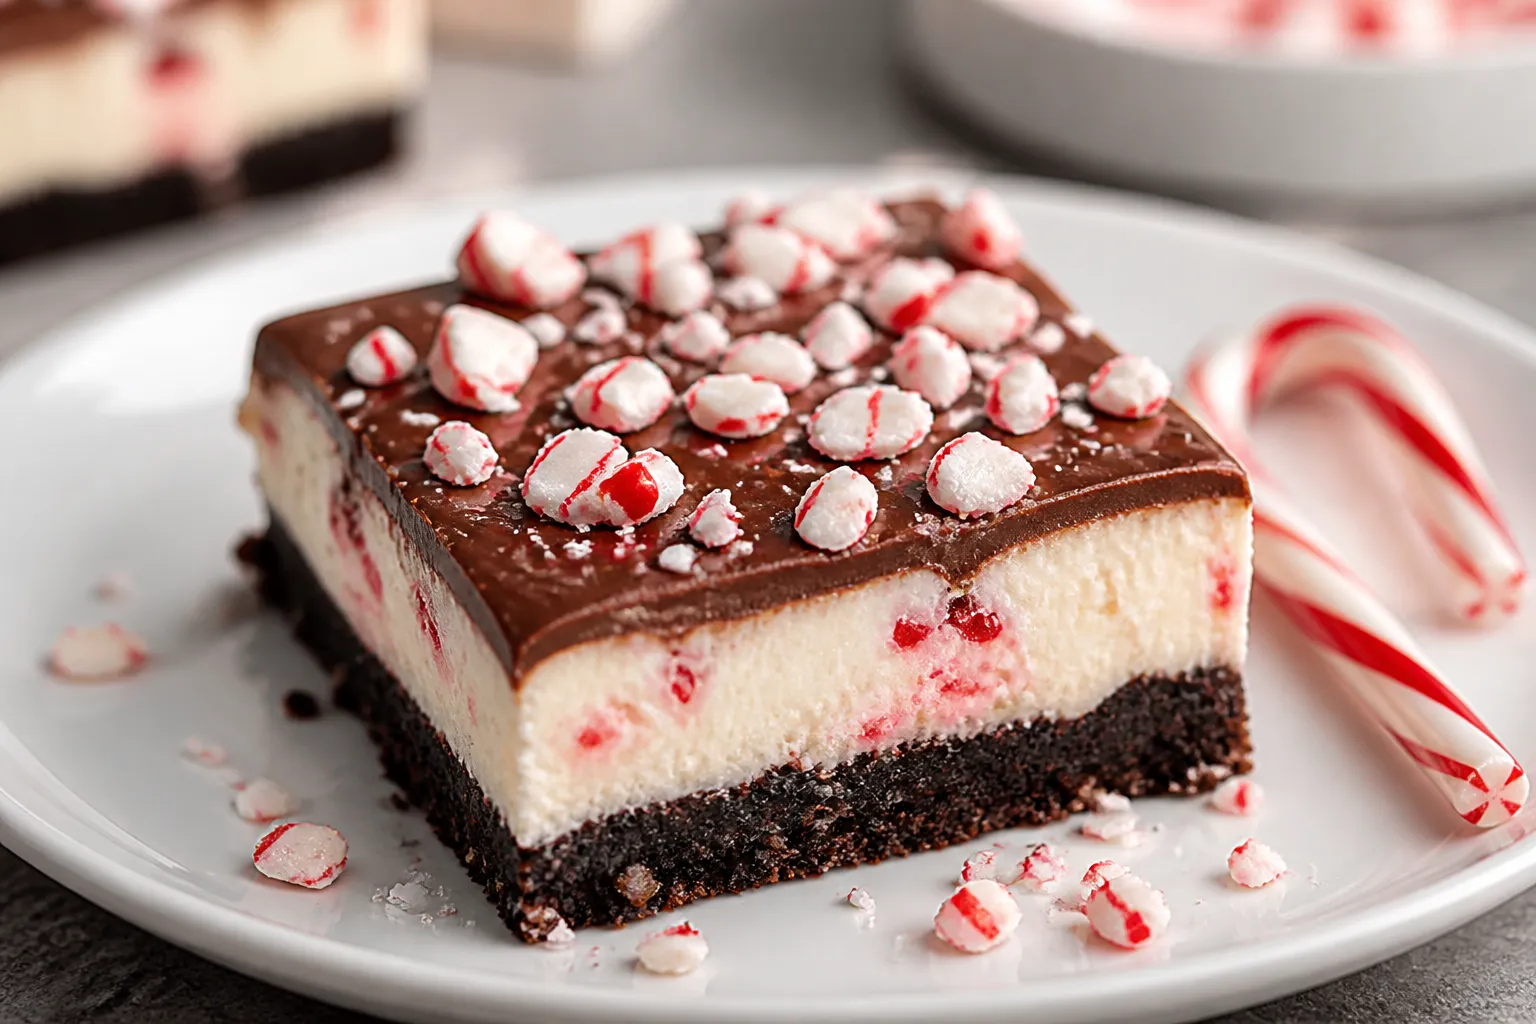
These bars bring the best parts of the holidays into one pan: cool peppermint, rich chocolate, and creamy cheesecake. They look impressive but are simple enough for a weeknight bake. The crackly peppermint on top adds crunch, while the smooth filling keeps every bite silky.
Serve them at parties, make them for gifting, or stash a few in the fridge for a late-night treat. If you love peppermint bark and cheesecake, this is your sweet spot.
Ingredients
Method
- Prep the pan and oven. Heat the oven to 325°F (165°C). Line a 9x9-inch pan with parchment, leaving overhang on two sides for easy lifting. Lightly grease the sides.
- Make the crust. In a bowl, combine crushed cookies, melted butter, sugar, and salt. Stir until evenly moistened. Press firmly into the pan, packing it tightly with the bottom of a measuring cup for a smooth, even layer.
- Par-bake the crust. Bake the crust for 8–10 minutes until set and fragrant. Let it cool while you prepare the filling. Keep the oven at 325°F.
- Beat the cream cheese and sugar. In a large bowl, beat cream cheese and sugar on medium speed until smooth and fluffy, about 2 minutes. Scrape the bowl well.
- Add sour cream, extracts, flour, and salt. Mix in sour cream, vanilla, peppermint extract, flour, and salt just until combined. Avoid overbeating to prevent extra air.
- Blend in the eggs. Add eggs one at a time on low speed, mixing just until incorporated. Scrape the bowl and fold gently to make the batter uniform.
- Fill the pan. Pour the batter over the cooled crust and smooth the top. Tap the pan once or twice on the counter to pop surface bubbles.
- Bake. Bake for 25–32 minutes, until the edges are set and the center has a slight wobble. The top should look matte, not wet. Avoid overbaking to keep it creamy.
- Cool gradually. Turn off the oven, crack the door, and let the bars sit for 10 minutes. Move the pan to a rack and cool to room temperature. Then refrigerate for at least 3 hours, or until fully chilled.
- Make the topping. Melt chocolate and cream together in the microwave in 20–30 second bursts, stirring until smooth. Stir in peppermint extract. Let it cool for 5 minutes so it thickens slightly.
- Finish and chill. Spread the chocolate topping over the chilled cheesecake in an even layer. Sprinkle crushed candy canes on top. Chill 30–45 minutes to set the chocolate.
- Slice and serve. Lift the slab out using the parchment. Warm a sharp knife under hot water, wipe dry, and cut into bars. Wipe the knife between cuts for clean edges.
What Makes This Special
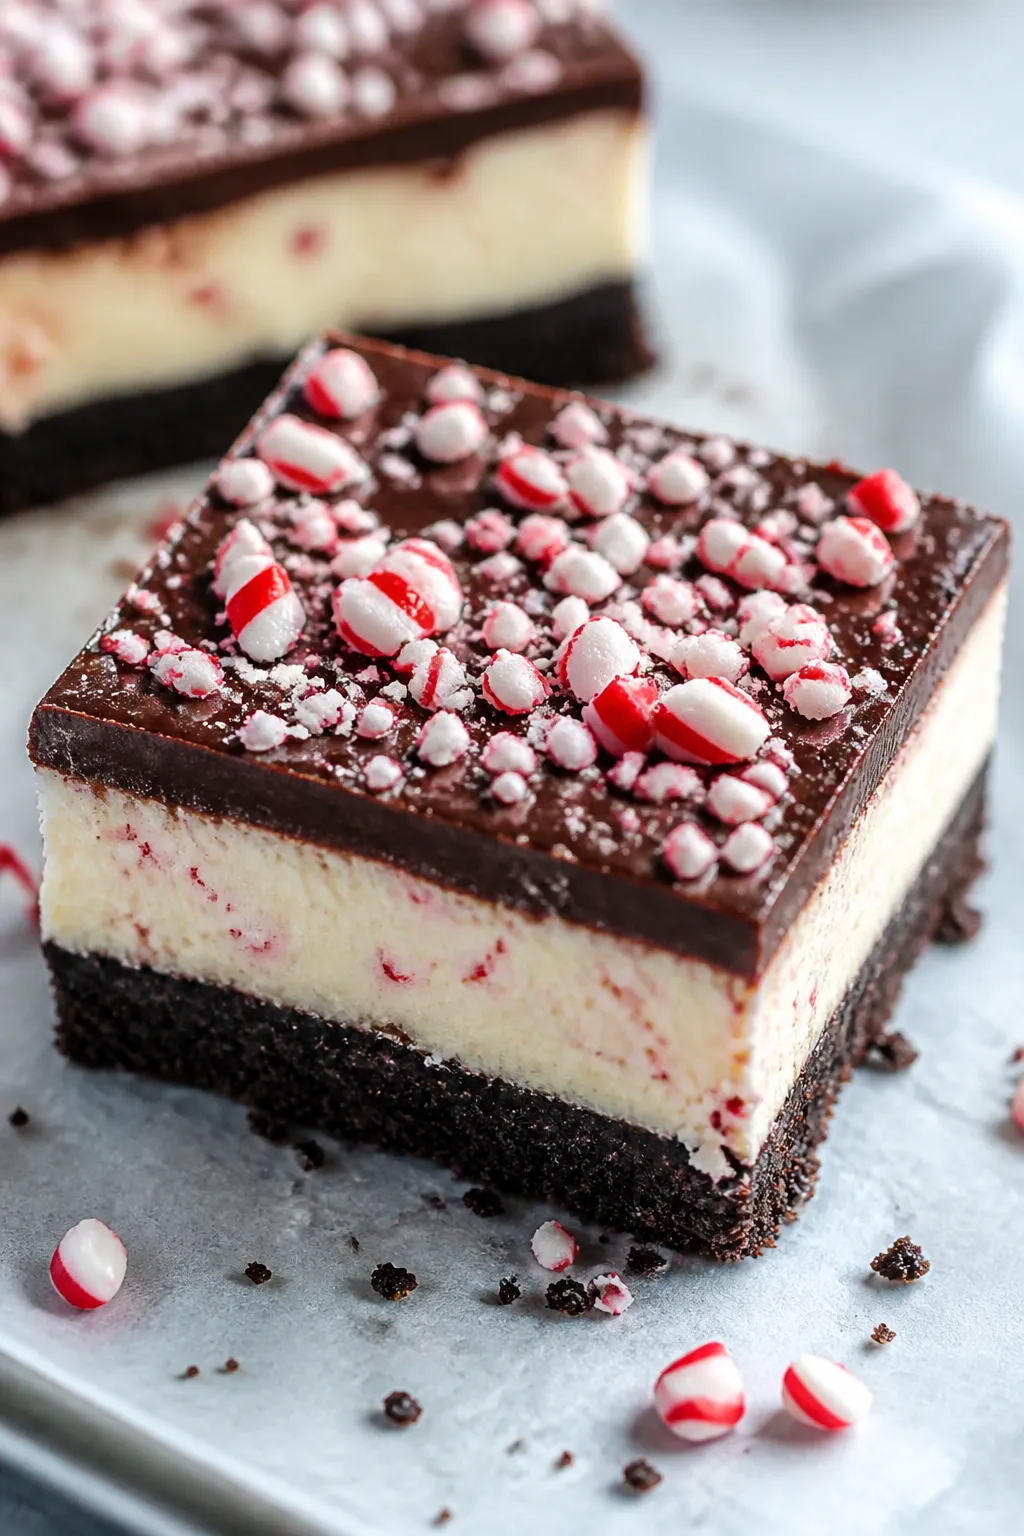
These bars balance flavors and textures in a way that feels both nostalgic and a little fancy. The chocolate cookie crust gives a sturdy base with a deep cocoa bite.
The cheesecake layer is smooth, slightly tangy, and gently sweet so the peppermint can shine. A glossy chocolate-peppermint topping ties it all together with a bit of sparkle from crushed candy canes. Best of all, the recipe is forgiving and scales well for gatherings.
What You’ll Need
- For the crust:
- 24 chocolate sandwich cookies (like Oreos), finely crushed
- 5 tablespoons unsalted butter, melted
- 1 tablespoon granulated sugar
- Pinch of fine sea salt
- For the cheesecake filling:
- 16 ounces cream cheese, softened to room temperature
- 1/2 cup granulated sugar
- 1/4 cup sour cream
- 2 large eggs, at room temperature
- 1 teaspoon pure vanilla extract
- 1/2 teaspoon peppermint extract
- 2 tablespoons all-purpose flour
- 1/4 teaspoon fine sea salt
- For the chocolate-peppermint topping:
- 1 cup semisweet chocolate chips or chopped chocolate
- 2 tablespoons heavy cream
- 1/4 teaspoon peppermint extract
- 1/3 cup crushed candy canes or peppermint candies
- Equipment:
- 9×9-inch baking pan
- Parchment paper
- Mixing bowls and hand mixer (or stand mixer)
- Spatula and offset spatula (optional)
How to Make It
- Prep the pan and oven. Heat the oven to 325°F (165°C).
Line a 9×9-inch pan with parchment, leaving overhang on two sides for easy lifting. Lightly grease the sides.
- Make the crust. In a bowl, combine crushed cookies, melted butter, sugar, and salt. Stir until evenly moistened.
Press firmly into the pan, packing it tightly with the bottom of a measuring cup for a smooth, even layer.
- Par-bake the crust. Bake the crust for 8–10 minutes until set and fragrant. Let it cool while you prepare the filling. Keep the oven at 325°F.
- Beat the cream cheese and sugar. In a large bowl, beat cream cheese and sugar on medium speed until smooth and fluffy, about 2 minutes.
Scrape the bowl well.
- Add sour cream, extracts, flour, and salt. Mix in sour cream, vanilla, peppermint extract, flour, and salt just until combined. Avoid overbeating to prevent extra air.
- Blend in the eggs. Add eggs one at a time on low speed, mixing just until incorporated. Scrape the bowl and fold gently to make the batter uniform.
- Fill the pan. Pour the batter over the cooled crust and smooth the top.
Tap the pan once or twice on the counter to pop surface bubbles.
- Bake. Bake for 25–32 minutes, until the edges are set and the center has a slight wobble. The top should look matte, not wet. Avoid overbaking to keep it creamy.
- Cool gradually. Turn off the oven, crack the door, and let the bars sit for 10 minutes.
Move the pan to a rack and cool to room temperature. Then refrigerate for at least 3 hours, or until fully chilled.
- Make the topping. Melt chocolate and cream together in the microwave in 20–30 second bursts, stirring until smooth. Stir in peppermint extract.
Let it cool for 5 minutes so it thickens slightly.
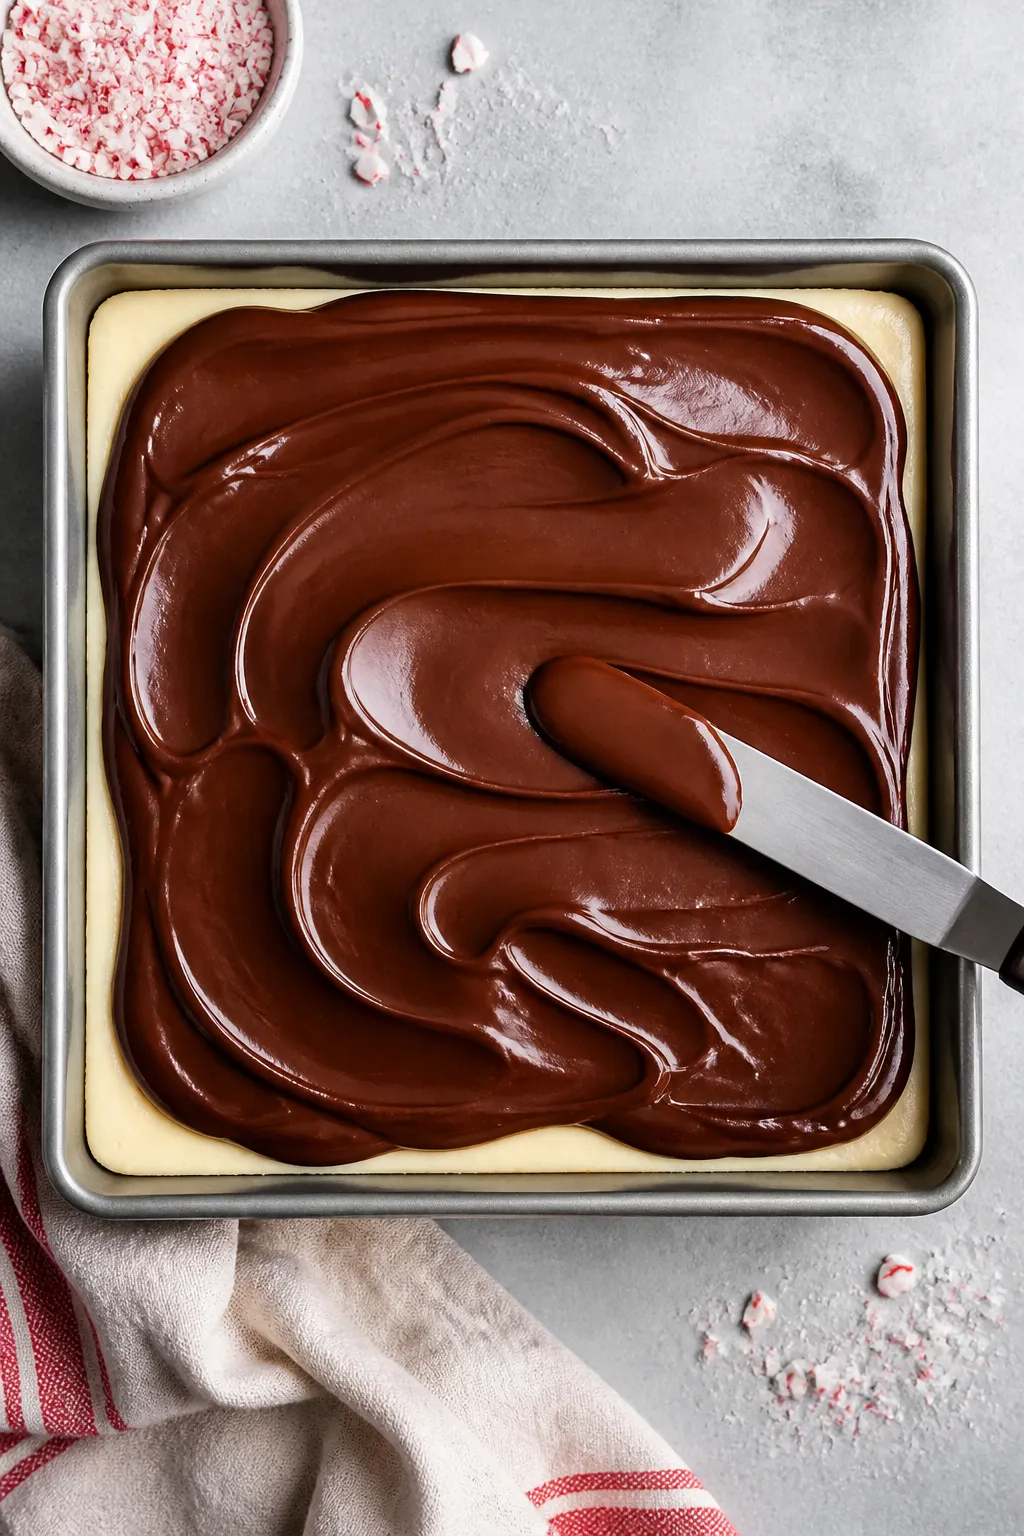
- Finish and chill. Spread the chocolate topping over the chilled cheesecake in an even layer. Sprinkle crushed candy canes on top. Chill 30–45 minutes to set the chocolate.
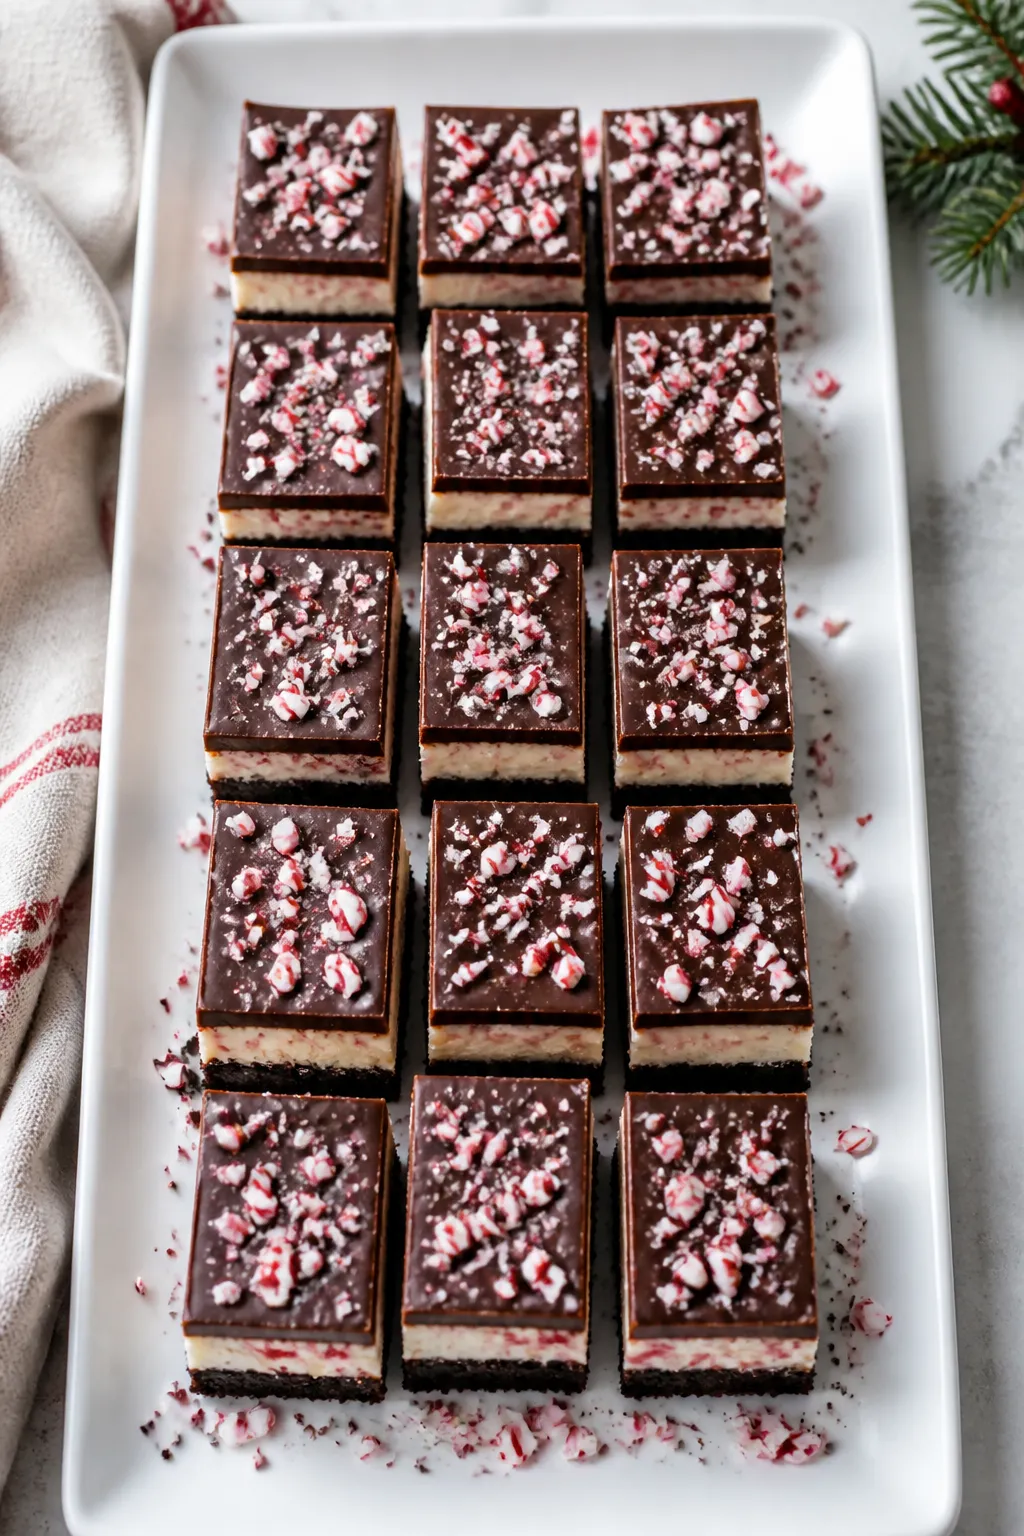
- Slice and serve. Lift the slab out using the parchment.
Warm a sharp knife under hot water, wipe dry, and cut into bars. Wipe the knife between cuts for clean edges.
Keeping It Fresh
Store the bars covered in the refrigerator for up to 5 days. If stacking, place parchment between layers to protect the topping.
For longer storage, freeze tightly wrapped bars (without the candy canes for best texture) for up to 2 months. Thaw overnight in the fridge, then add fresh crushed peppermint before serving. Keep them chilled until close to serving time to maintain a clean slice and creamy texture.
Benefits of This Recipe
- Make-ahead friendly: The flavor improves after a chill, so you can bake the day before.
- Reliable texture: A lower oven temp and brief bake help prevent cracks and dryness.
- Balanced sweetness: Tangy cheesecake tempers the chocolate and peppermint.
- Festive presentation: Crushed candy canes add color and crunch with zero decorating skills needed.
- Easy to scale: Double the recipe in a 9×13-inch pan; add 5–8 minutes to the bake time.
Pitfalls to Watch Out For
- Overmixing the batter: Too much air can cause cracks.
Mix on low and stop when just combined.
- Overbaking: If the center is fully set in the oven, the bars may be dry. Look for a slight jiggle.
- Too much peppermint extract: It’s potent. Measure carefully or the flavor can turn harsh.
- Hot topping on warm cheesecake: Warm chocolate can melt the top layer.
Cool both slightly before spreading.
- Humidity and candy cane melt: Crushed peppermint can weep in damp environments. Add it close to serving for best crunch.
Alternatives
- Different crusts: Try chocolate graham crackers, chocolate wafer cookies, or even a brownie base (par-bake until set).
- Swirl option: Skip the topping and swirl 1/3 cup melted chocolate into the cheesecake batter before baking.
- White chocolate topping: Use white chocolate with a tiny pinch of salt and the same peppermint extract for a peppermint bark vibe.
- Gluten-free: Use gluten-free sandwich cookies and swap the flour in the filling for cornstarch (1 tablespoon).
- Dairy-light version: Use Neufchâtel cheese and Greek yogurt instead of sour cream; texture will be slightly lighter.
- Mint chocolate chip: Fold 1/2 cup mini chocolate chips into the batter and a drop of green food coloring if you like.
FAQ
Can I make these without peppermint?
Yes. Replace the peppermint extract with more vanilla and skip the candy canes.
Keep the chocolate topping or swap it for a simple ganache without mint.
How do I prevent cracks on top?
Use room-temperature ingredients, avoid overmixing, bake at 325°F, and pull the pan when the center still has a gentle wobble. Cooling gradually and then chilling also helps.
What if I only have an 8×8-inch pan?
It works, but the bars will be thicker. Add 5–8 minutes to the bake time and check for that slight jiggle in the center before removing.
Can I use peppermint oil instead of extract?
Yes, but it’s stronger.
Start with 1–2 drops, taste, and adjust cautiously. Too much can become overpowering fast.
Do I need a water bath?
No. These are bars baked at a lower temperature, which keeps them creamy without the fuss of a water bath.
Which chocolate is best for the topping?
Semisweet or dark (55–65% cacao) keeps the sweetness balanced.
Use good-quality chips or chopped bars that melt smoothly.
When should I add the crushed candy canes?
After spreading the topping and while it’s still tacky, then chill to set. If you add them too early, they may dissolve; too late, they won’t stick.
How many bars does this make?
In a 9×9-inch pan, you’ll get 16 standard bars or 25 smaller bites for a party platter.
Can I make them ahead for a holiday party?
Absolutely. Bake and chill up to 2 days ahead.
Add the crushed candy canes within a few hours of serving for the best crunch and color.
Why is my crust crumbly?
It likely needs more butter or firmer packing. Measure the crumbs, use the full butter amount, and press firmly with a flat-bottomed cup before baking.
Final Thoughts
Chocolate Peppermint Cheesecake Bars are the kind of dessert that feels special without turning your kitchen into a mess. The layers come together easily, and the flavors land right in that sweet, cool, chocolatey zone everyone loves.
Keep this recipe on hand for holidays, potlucks, or any time you want a make-ahead treat that slices clean and always disappears fast. Once you try them, they’ll likely become a seasonal tradition.
Printable Recipe Card
Want just the essential recipe details without scrolling through the article? Get our printable recipe card with just the ingredients and instructions.
About the Author

Brandon D
Blogger/Fitness & Wellness Coach
I create quick, healthy, family-friendly recipes that make dinner simple, delicious, and stress-free.