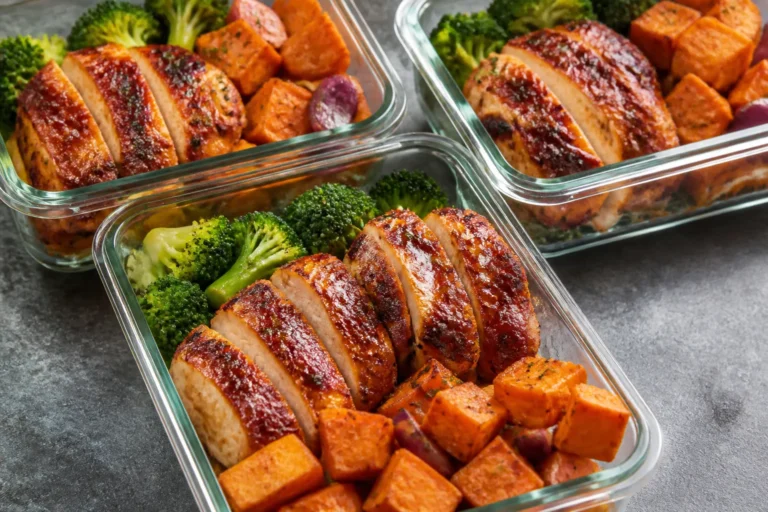
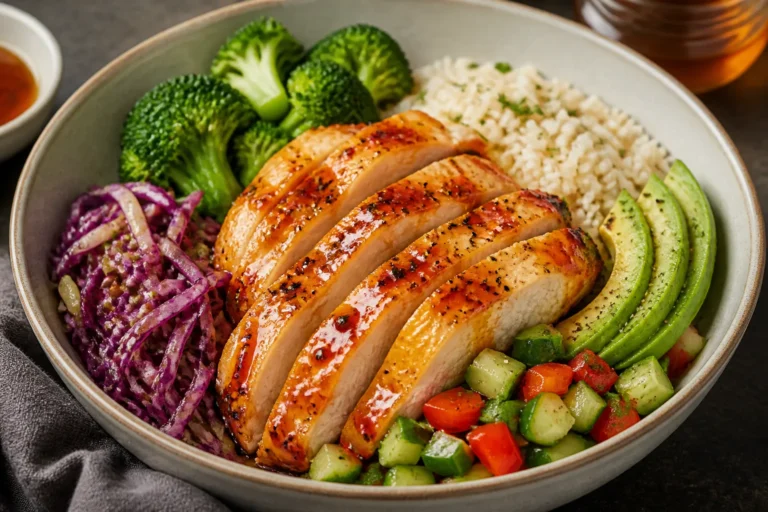
Chicken Taco Casserole Meal Prep – A Cozy, Make-Ahead Favorite
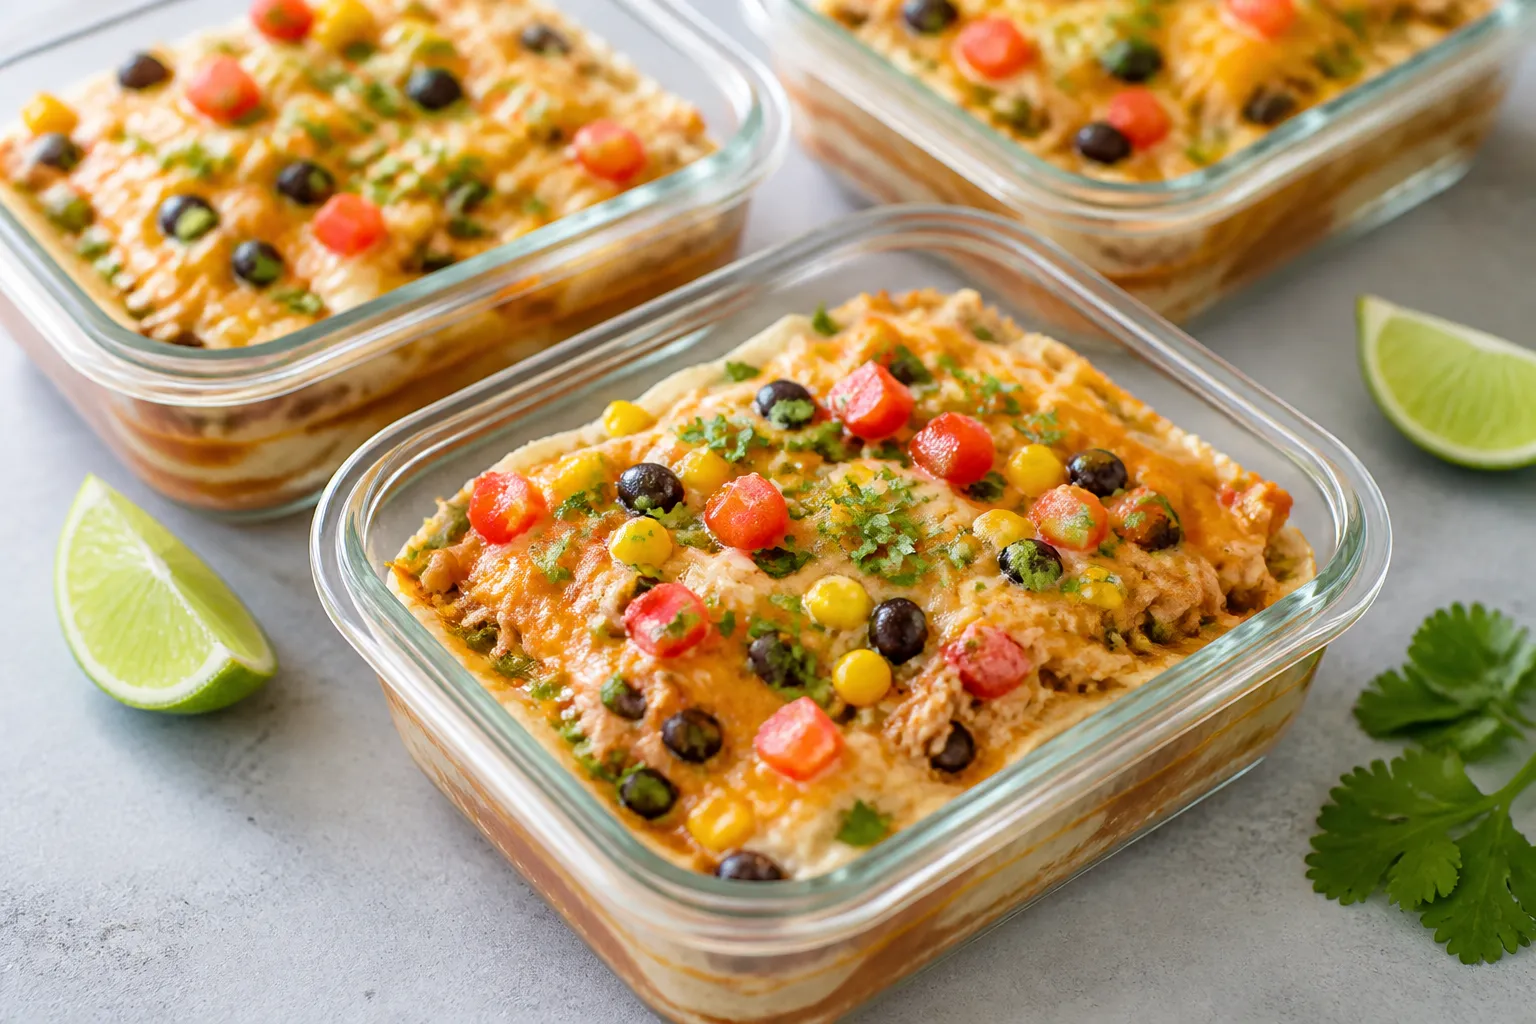
If tacos and casseroles had a weeknight-friendly baby, this would be it. Chicken Taco Casserole Meal Prep brings all the bold flavors you love—seasoned chicken, melty cheese, salsa, and tender rice—into one tidy pan. It’s simple to assemble, easy to portion, and reheats like a dream.
FREE 7-Day Easy Dinner Reset
Save time, eat healthier, and take the stress out of dinner. Get a full week of easy healthy dinners delivered straight to your inbox.
Whether you’re feeding a busy household or stocking your fridge for the week, this casserole checks every box. It’s satisfying, colorful, and endlessly adaptable to your taste and pantry.
Ingredients
Method
- Preheat and prep: Heat oven to 375°F (190°C). Lightly grease a 9x13-inch baking dish. If using tortillas instead of rice, cut them into bite-size strips.
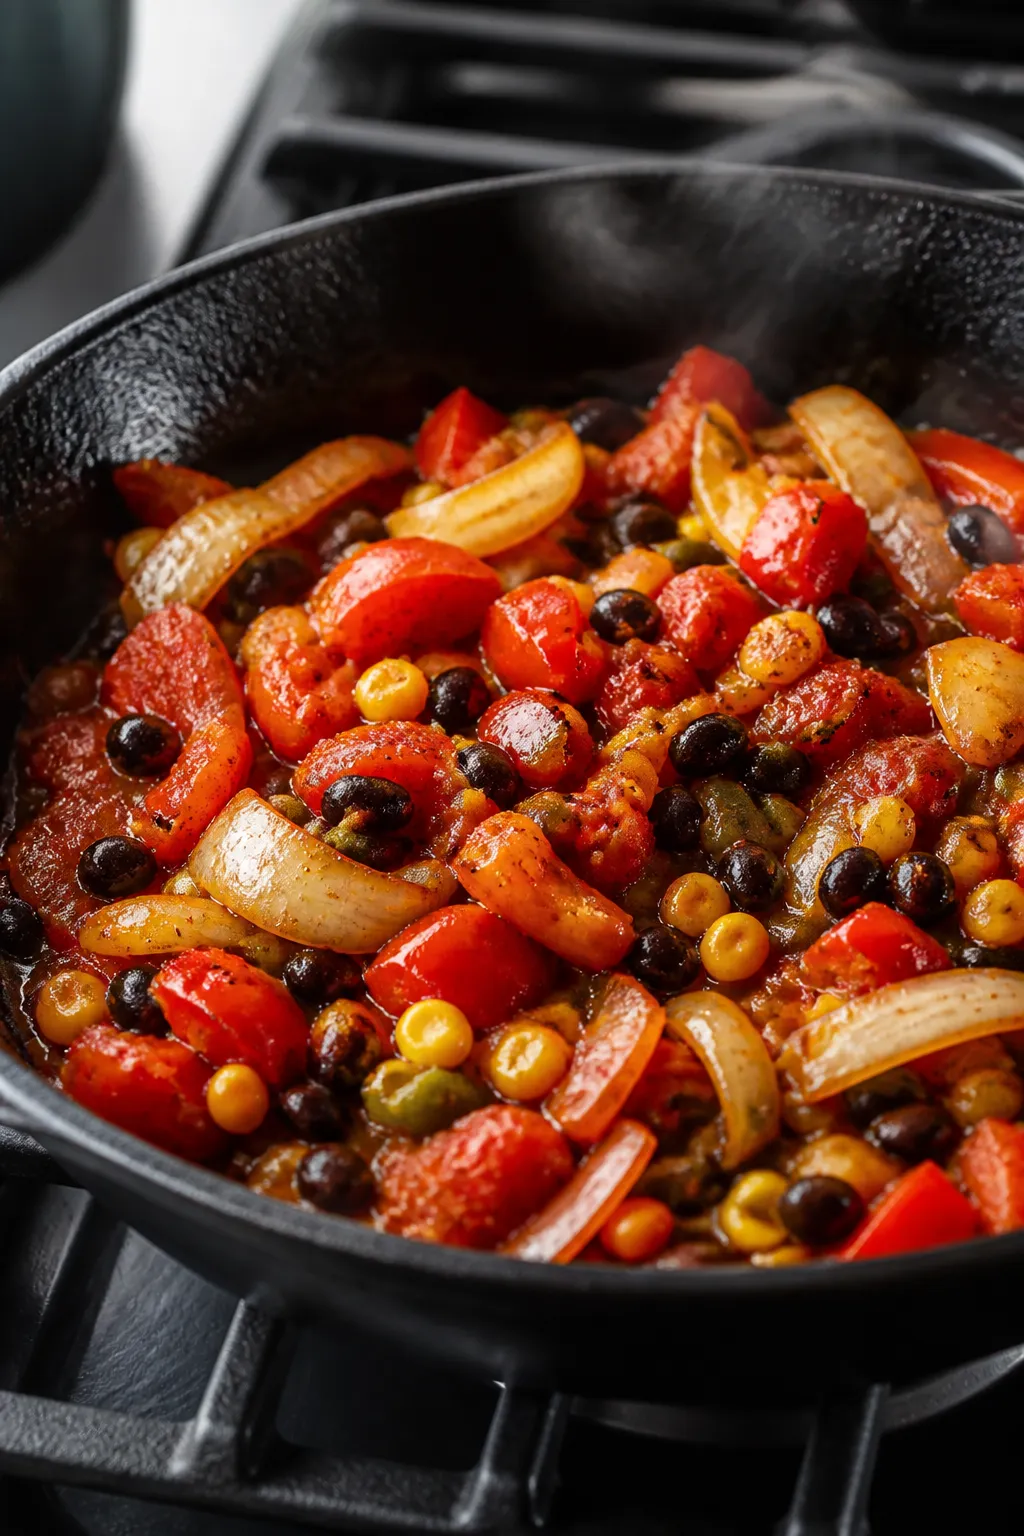
- Sauté the veggies: Warm olive oil in a large skillet over medium heat. Add onion and bell pepper with a pinch of salt. Cook 5–6 minutes until softened and lightly golden.
- Season and combine: Stir in taco seasoning and cook 30 seconds until fragrant. Add black beans, corn, diced tomatoes with chiles, salsa, and chicken broth. Simmer 2–3 minutes to meld flavors.
- Add chicken and base: Stir in shredded chicken and cooked rice (or tortilla strips). Taste and adjust salt and pepper. You want it slightly saucy—this keeps it moist after baking.
- Add creaminess: Off the heat, fold in Greek yogurt or sour cream until evenly combined. This gives a creamy, casserole-like texture without making it heavy.
- Assemble: Spread mixture evenly in the baking dish. Sprinkle cheese over the top in an even layer.
- Bake: Bake uncovered for 18–22 minutes, until hot and bubbly and the cheese is melted. For a golden top, broil 1–2 minutes at the end, watching closely.
- Rest and garnish: Let sit 5–10 minutes so it sets for clean slices. Top with cilantro and green onions, and add any extras like jalapeños or a squeeze of lime.
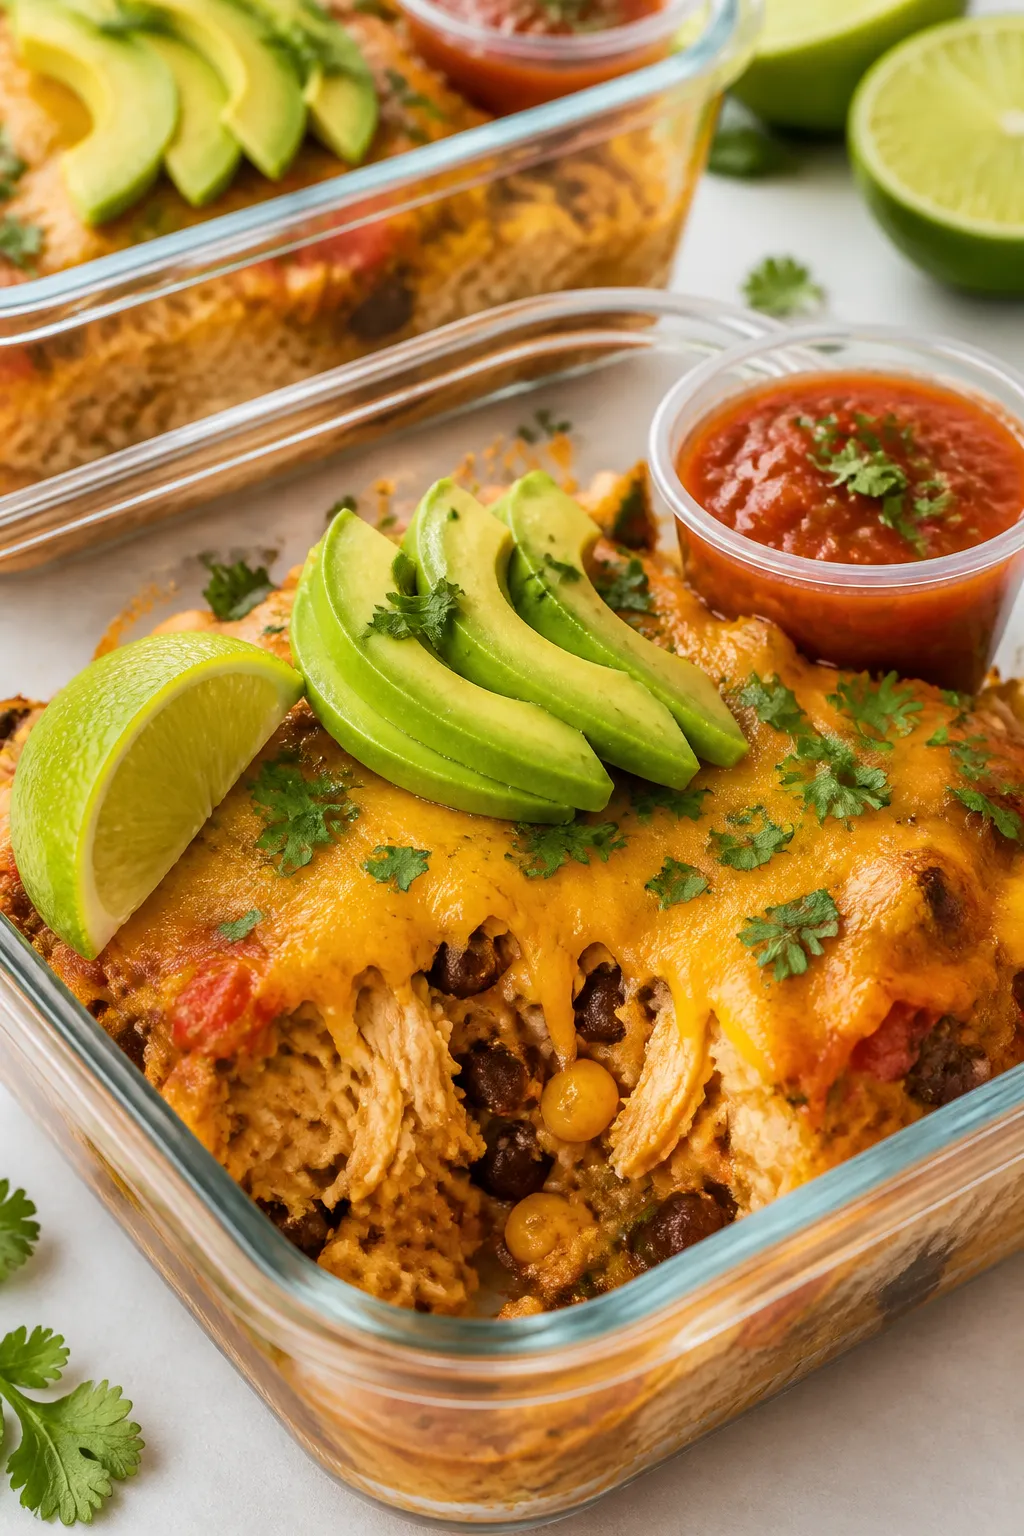
- Portion for meal prep: Divide into 4–6 containers. Add fresh toppings right before eating to keep textures crisp.
What Makes This Special
This casserole blends the comfort of a baked dish with the fun of taco night. You get layers of texture—juicy chicken, soft rice or tortillas, creamy beans, and crisp toppings.
It’s a full meal in one scoop, and it’s built for make-ahead convenience. Best of all, it’s flexible: swap proteins, grains, and toppings based on what you have.
Meal-prep friendly: It keeps well for days and freezes beautifully. Balanced: Lean protein, fiber-rich beans, and veggies. Customizable: Go mild or spicy, cheesy or lighter—your call.
Shopping List
- 2 cups cooked, shredded chicken (rotisserie or poached)
- 2 cups cooked brown rice (or white rice; or 8 small corn tortillas, cut into strips)
- 1 can (15 oz) black beans, drained and rinsed
- 1 cup corn kernels (frozen, canned, or fresh)
- 1 red bell pepper, diced
- 1 small yellow onion, diced
- 1 cup salsa (your favorite, mild to hot)
- 1 can (10 oz) diced tomatoes with green chiles (like Rotel), drained
- 1 packet taco seasoning or 2–3 tablespoons homemade
- 1 cup low-sodium chicken broth
- 1 cup plain Greek yogurt or sour cream
- 1.5–2 cups shredded cheese (cheddar, Monterey Jack, or Mexican blend)
- 2 tablespoons olive oil
- Salt and black pepper
- Optional toppings: chopped cilantro, sliced green onions, avocado, pickled jalapeños, lime wedges
Instructions
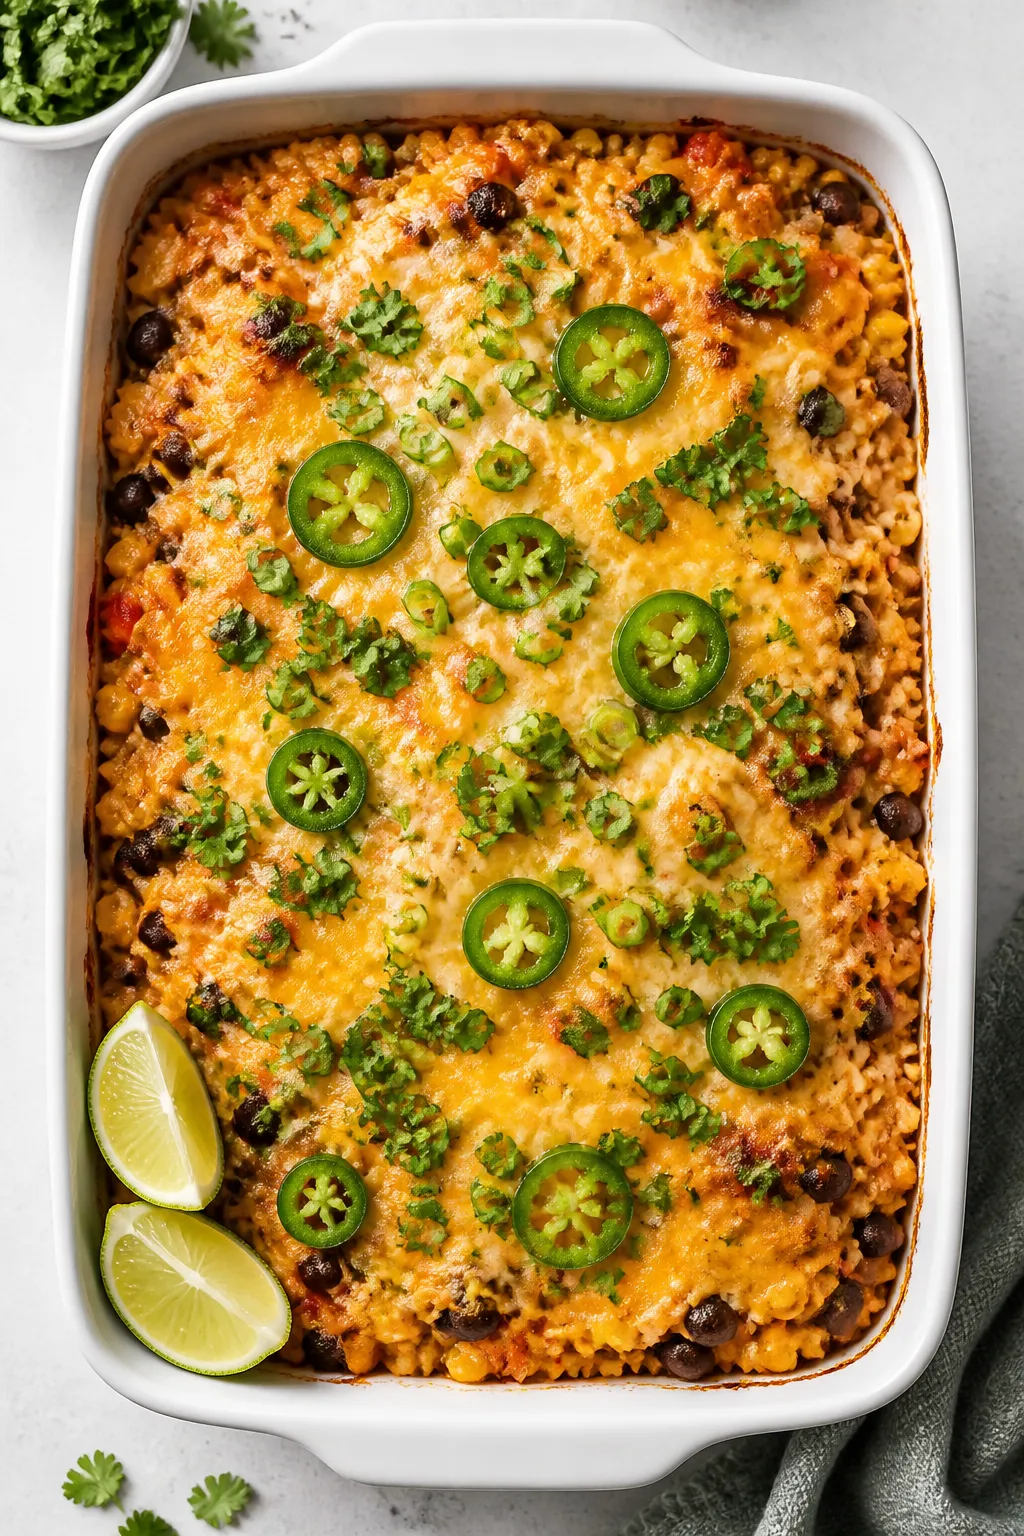
- Preheat and prep: Heat oven to 375°F (190°C). Lightly grease a 9×13-inch baking dish.
If using tortillas instead of rice, cut them into bite-size strips.
- Sauté the veggies: Warm olive oil in a large skillet over medium heat. Add onion and bell pepper with a pinch of salt. Cook 5–6 minutes until softened and lightly golden.
- Season and combine: Stir in taco seasoning and cook 30 seconds until fragrant.
Add black beans, corn, diced tomatoes with chiles, salsa, and chicken broth. Simmer 2–3 minutes to meld flavors.
- Add chicken and base: Stir in shredded chicken and cooked rice (or tortilla strips). Taste and adjust salt and pepper.
You want it slightly saucy—this keeps it moist after baking.
- Add creaminess: Off the heat, fold in Greek yogurt or sour cream until evenly combined. This gives a creamy, casserole-like texture without making it heavy.
- Assemble: Spread mixture evenly in the baking dish. Sprinkle cheese over the top in an even layer.
- Bake: Bake uncovered for 18–22 minutes, until hot and bubbly and the cheese is melted.
For a golden top, broil 1–2 minutes at the end, watching closely.
- Rest and garnish: Let sit 5–10 minutes so it sets for clean slices. Top with cilantro and green onions, and add any extras like jalapeños or a squeeze of lime.
- Portion for meal prep: Divide into 4–6 containers. Add fresh toppings right before eating to keep textures crisp.
How to Store
- Fridge: Store in airtight containers for up to 4 days.
Keep fresh toppings separate.
- Freezer: Cool completely, then freeze portions for up to 3 months. Wrap tightly to avoid freezer burn.
- Reheating: Microwave individual portions 1–3 minutes, stirring halfway. For best texture, add a splash of water or broth before reheating.
Oven method: 350°F (175°C) for 15–20 minutes, covered.
Why This is Good for You
- High in protein: Chicken and Greek yogurt keep you full and support muscle recovery.
- Fiber boost: Black beans, corn, and peppers support digestion and steady energy.
- Smart carbs: Brown rice adds slow-digesting carbs. Tortillas work too—choose corn for a gluten-friendly option.
- Customizable sodium and fat: Use low-sodium broth and lighter dairy to fit your goals.
Pitfalls to Watch Out For
- Too dry: If your mixture looks stiff before baking, add a bit more broth or salsa. The rice can soak up more liquid than expected.
- Watery casserole: On the flip side, if using very watery salsa, drain diced tomatoes well and reduce broth slightly.
- Overbaking: This can make the chicken stringy and rice tough.
Pull it once the cheese is melted and center is hot.
- Clumpy cheese: Add yogurt off the heat to avoid curdling, and don’t over-broil the top.
- Soggy tortillas: If using tortillas, toast strips in a dry skillet first for better texture.
Recipe Variations
- Spicy chipotle: Add 1–2 chopped chipotle peppers in adobo and a teaspoon of adobo sauce for smoky heat.
- Green chili version: Swap red salsa for salsa verde and use pepper jack cheese.
- Veggie-forward: Skip chicken and add extra beans, sautéed zucchini, and spinach. Use vegetable broth.
- Cauliflower rice: For lower carbs, use cauliflower rice. Sauté it briefly to remove excess moisture and cut the broth in half.
- Quesadilla crunch: Layer crushed baked tortilla chips on top after baking for added crunch (add just before serving).
- Creamy elote twist: Stir in a tablespoon of light mayo with the yogurt and add a sprinkle of chili powder and cotija on top.
- Slow cooker start: Cook chicken breasts with taco seasoning and salsa on low 3–4 hours, shred, then assemble and bake with the rest.
FAQ
Can I use raw chicken instead of cooked?
Yes, but cook it first.
Need More Easy Dinner Ideas?
Get my FREE 7-Day Easy Dinner Reset and enjoy a full week of healthy dinners without the meal-planning stress.
Sauté bite-size pieces with taco seasoning until cooked through, then proceed with the recipe. Starting with cooked chicken prevents excess liquid and uneven baking.
What kind of salsa works best?
Use a thick, chunky salsa to avoid a watery casserole. If using a thin salsa, reduce the broth a bit and drain the diced tomatoes well.
Is this gluten-free?
It can be.
Use corn tortillas or rice and confirm your taco seasoning and broth are labeled gluten-free.
How can I make it lighter?
Use Greek yogurt instead of sour cream, reduce cheese to 1 cup, choose low-fat cheese, and swap brown rice with cauliflower rice. Also opt for low-sodium beans and broth.
Can I assemble it ahead and bake later?
Yes. Assemble up to one day ahead, cover, and refrigerate.
Add 5–10 minutes to the bake time and watch the moisture—add a splash of broth if it looks dry.
What sides go well with this?
Keep it simple: a crisp green salad with lime vinaigrette, sautéed zucchini, or roasted broccoli. Chips and guacamole are always a hit, too.
How do I prevent the yogurt from curdling?
Stir in yogurt off the heat and make sure the mixture isn’t boiling. Full-fat or 2% Greek yogurt is more stable than nonfat.
Can I freeze it with the cheese on top?
Yes.
Freeze after baking and cooling, or assemble, add cheese, and freeze unbaked. If baking from frozen, cover with foil and bake at 350°F (175°C) until hot, then uncover to melt and brown the cheese.
Final Thoughts
Chicken Taco Casserole Meal Prep packs big flavor into an easy, week-friendly format. It’s forgiving, adaptable, and great for using what you already have.
With a little planning, you’ll have satisfying, ready-to-reheat meals that taste fresh every time. Make it once, and it may just join your regular rotation.
Printable Recipe Card
Want just the essential recipe details without scrolling through the article? Get our printable recipe card with just the ingredients and instructions.
About the Author

Brandon D
Blogger/Fitness & Wellness Coach
I create quick, healthy, family-friendly recipes that make dinner simple, delicious, and stress-free.
Loved This Recipe?
If you're looking for more simple, healthy dinners your family will actually eat, grab my FREE 7-Day Easy Dinner Reset. You'll get 7 easy dinner recipes, simple grocery lists, and a done-for-you plan that takes the stress out of mealtime.