Biscoff Cheesecake – Creamy, Spiced, and Crowd-Pleasing
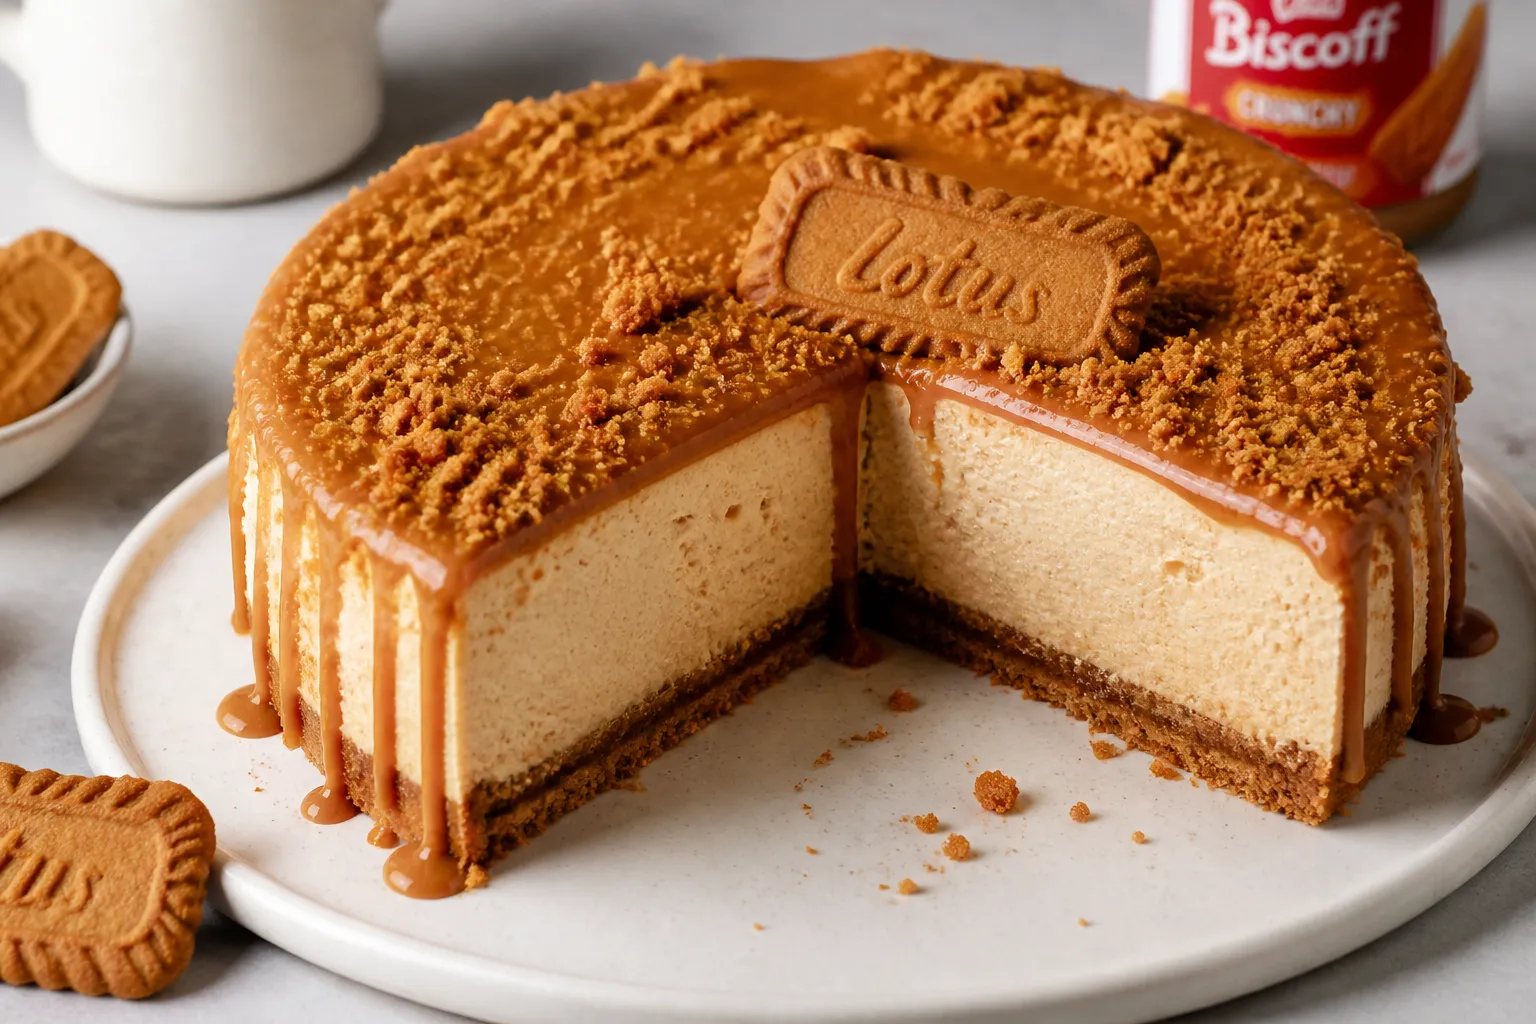
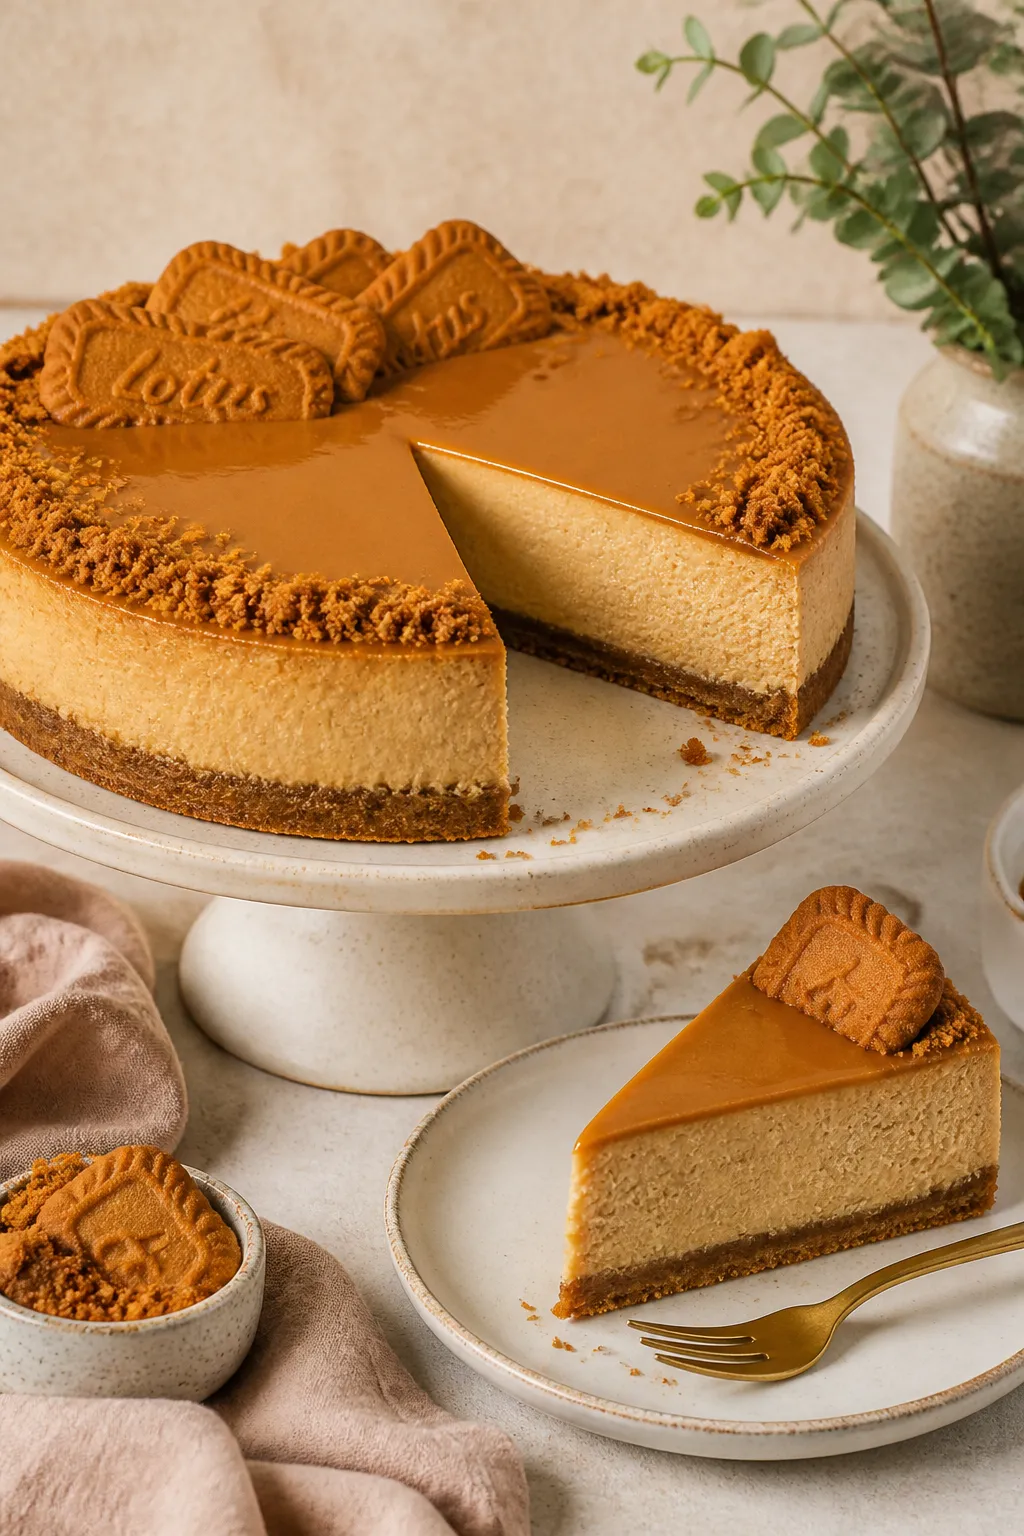
If you love the cozy, caramelized flavor of Biscoff cookies, this cheesecake will be your new favorite treat. It’s rich, creamy, and packed with that warm, spiced cookie taste in every layer. The crust is buttery and crisp, the filling is smooth, and the top gets a glossy layer of Biscoff spread.
It looks impressive, but it’s surprisingly easy to pull off at home. This is the kind of dessert that makes people ask for seconds—and the recipe.
Ingredients
Method
- Prep the pan and oven. Heat the oven to 350°F (175°C). Wrap the outside of your springform pan with two layers of heavy-duty foil to prevent leaks. Lightly butter or spray the inside.
- Make the crust. Stir the crushed Biscoff, melted butter, sugar, and salt until the texture feels like wet sand. Press firmly into the bottom and slightly up the sides of the pan. Use a flat-bottom glass for an even layer.
- Par-bake the crust. Bake for 8–10 minutes until fragrant and set. Cool for at least 10 minutes while you make the filling. Reduce the oven to 325°F (160°C).
- Mix the filling base. Beat the cream cheese with sugar and salt on medium-low until smooth, about 2 minutes. Scrape the bowl. Add sour cream and vanilla; mix until combined. Sprinkle in the cornstarch and mix just to blend.
- Add eggs carefully. Beat in the eggs one at a time on low speed, mixing just until incorporated. Don’t overmix—too much air can cause cracking.
- Swirl in Biscoff spread. Warm the 1/2 cup Biscoff spread for 10–15 seconds in the microwave to loosen. Mix it into the batter until fully combined and silky.
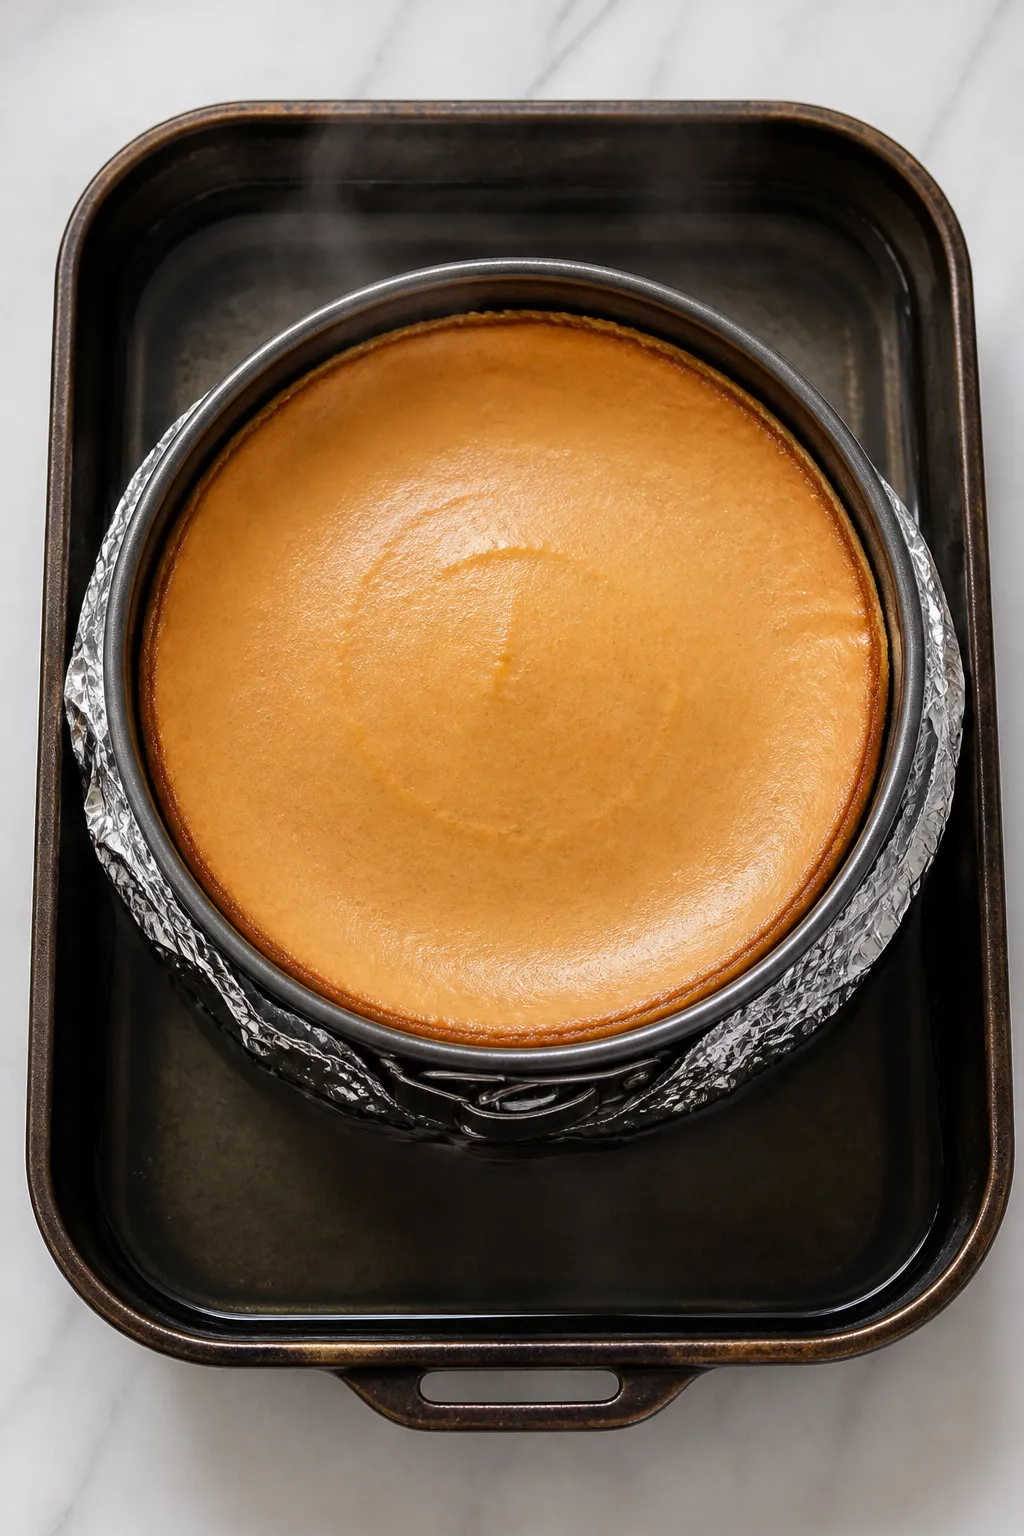
- Assemble the bath. Pour the filling over the cooled crust. Place the foil-wrapped pan in a large roasting pan. Pour hot water into the roasting pan to reach halfway up the springform’s sides.
- Bake low and slow. Bake at 325°F (160°C) for 60–70 minutes. The edges should be set, and the center should wobble slightly like Jell-O when gently shaken.
- Cool gently. Turn off the oven, crack the door, and let the cheesecake rest inside for 45–60 minutes. This gradual cool helps prevent cracks.
- Chill completely. Remove from the water bath, discard foil, and run a thin knife around the edge. Cool to room temperature, then cover and refrigerate for at least 6 hours, preferably overnight.
- Make the topping. Gently heat 1/2 cup Biscoff spread with 2–3 tablespoons cream until pourable but not hot. Pour over the chilled cheesecake and tilt the pan to coat evenly. Chill 15 minutes to set.
- Garnish and serve. Unmold from the springform. Sprinkle crushed cookies around the edge or add a few cookie halves on top. Slice with a hot, clean knife for neat edges.
What Makes This Special
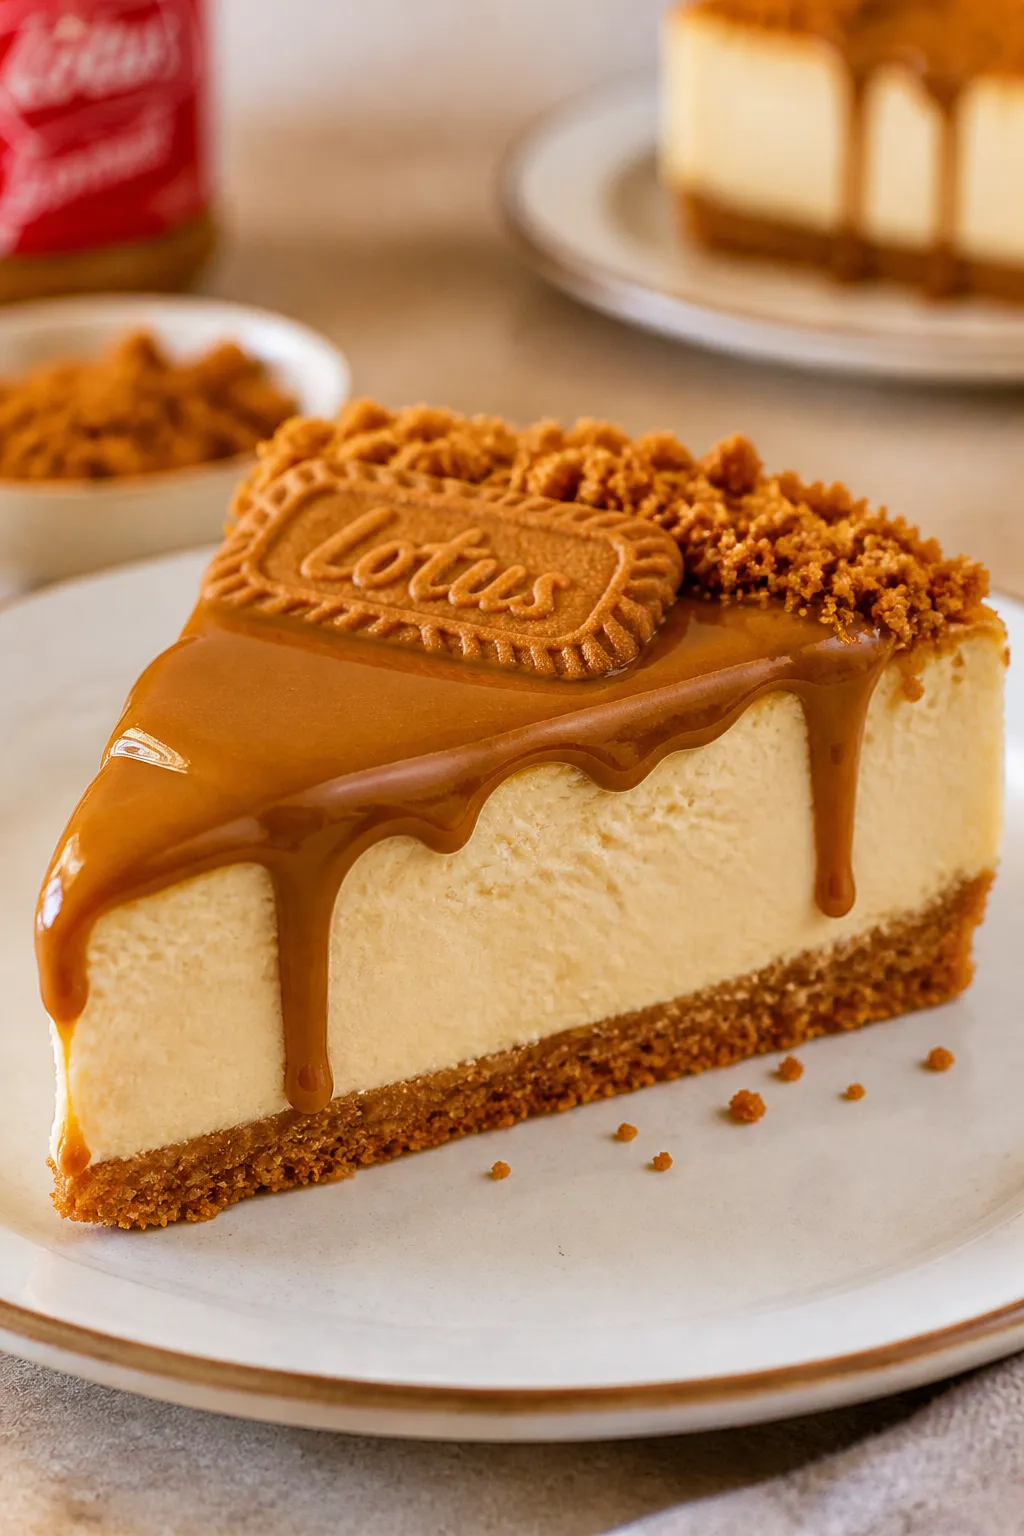
This cheesecake doubles down on Biscoff: cookies in the crust, spread in the filling, and a silky topping to finish. The flavor is sweet with hints of cinnamon and caramel, balanced by a gentle tang from cream cheese.
It sets beautifully without cracking when you treat it gently. Best of all, it’s make-ahead friendly, so you can bake it the day before and let the fridge do the rest.
What You’ll Need
- For the crust:
- 10 ounces (about 280 g) Biscoff cookies, crushed finely
- 6 tablespoons (85 g) unsalted butter, melted
- 1 tablespoon granulated sugar (optional, for extra sweetness)
- Pinch of fine salt
- For the filling:
- 24 ounces (680 g) full-fat cream cheese, softened to room temperature
- 3/4 cup (150 g) granulated sugar
- 3/4 cup (180 g) sour cream, room temperature
- 3 large eggs, room temperature
- 2 teaspoons pure vanilla extract
- 1/2 cup (130 g) Biscoff spread (cookie butter)
- 1 tablespoon cornstarch (or 2 teaspoons flour)
- Pinch of salt
- For the topping:
- 1/2 cup (130 g) Biscoff spread
- 2–3 tablespoons heavy cream (to loosen)
- Extra Biscoff cookies, crushed, for garnish
- Equipment:
- 9-inch (23 cm) springform pan
- Aluminum foil and a large roasting pan (for water bath)
- Electric mixer (hand or stand)
Instructions
- Prep the pan and oven. Heat the oven to 350°F (175°C). Wrap the outside of your springform pan with two layers of heavy-duty foil to prevent leaks.
Lightly butter or spray the inside.
- Make the crust. Stir the crushed Biscoff, melted butter, sugar, and salt until the texture feels like wet sand. Press firmly into the bottom and slightly up the sides of the pan. Use a flat-bottom glass for an even layer.
- Par-bake the crust. Bake for 8–10 minutes until fragrant and set.
Cool for at least 10 minutes while you make the filling. Reduce the oven to 325°F (160°C).
- Mix the filling base. Beat the cream cheese with sugar and salt on medium-low until smooth, about 2 minutes. Scrape the bowl.
Add sour cream and vanilla; mix until combined. Sprinkle in the cornstarch and mix just to blend.
- Add eggs carefully. Beat in the eggs one at a time on low speed, mixing just until incorporated. Don’t overmix—too much air can cause cracking.
- Swirl in Biscoff spread. Warm the 1/2 cup Biscoff spread for 10–15 seconds in the microwave to loosen.
Mix it into the batter until fully combined and silky.
- Assemble the bath. Pour the filling over the cooled crust. Place the foil-wrapped pan in a large roasting pan. Pour hot water into the roasting pan to reach halfway up the springform’s sides.
- Bake low and slow. Bake at 325°F (160°C) for 60–70 minutes.
The edges should be set, and the center should wobble slightly like Jell-O when gently shaken.
- Cool gently. Turn off the oven, crack the door, and let the cheesecake rest inside for 45–60 minutes. This gradual cool helps prevent cracks.
- Chill completely. Remove from the water bath, discard foil, and run a thin knife around the edge. Cool to room temperature, then cover and refrigerate for at least 6 hours, preferably overnight.
- Make the topping. Gently heat 1/2 cup Biscoff spread with 2–3 tablespoons cream until pourable but not hot.
Pour over the chilled cheesecake and tilt the pan to coat evenly. Chill 15 minutes to set.
- Garnish and serve. Unmold from the springform. Sprinkle crushed cookies around the edge or add a few cookie halves on top.
Slice with a hot, clean knife for neat edges.
Keeping It Fresh
Store the cheesecake covered in the fridge for up to 5 days. If you plan to keep it longer, freeze individual slices tightly wrapped for up to 2 months. Thaw overnight in the fridge for the best texture.
Wait to add the topping and cookie garnish until the day you’ll serve, so everything stays neat and crisp.
Benefits of This Recipe
- Make-ahead friendly: Tastes even better the next day after chilling.
- Reliable texture: The water bath and slow cool deliver a creamy, crack-free finish.
- Big flavor, simple method: Everyday tools and a straightforward process.
- Showstopping look: The glossy Biscoff top makes it feel bakery-level.
- Customizable: Easy to tweak for different tastes or dietary needs.
Pitfalls to Watch Out For
- Overmixing the batter: Too much air leads to puffing and cracks. Keep the mixer on low and stop once combined.
- Skipping room temperature ingredients: Cold cream cheese creates lumps and uneven baking.
- Leaky water bath: Wrap the pan well in foil, or use a silicone sleeve if you have one.
- Overbaking: Pull it when the center still jiggles slightly. It will firm up as it cools.
- Adding the topping while warm: Only pour the Biscoff glaze on a thoroughly chilled cheesecake so it sets smoothly.
Recipe Variations
- No-bake option: Skip eggs and cornstarch.
Beat 24 oz cream cheese with 1 cup powdered sugar, 1 cup Biscoff spread, 1 tsp vanilla, and fold in 1 1/2 cups whipped cream. Chill in a cookie crust for 6–8 hours before topping.
- Mini cheesecakes: Use a lined muffin tin with cookie crumbs pressed into each cup. Bake 16–18 minutes at 325°F (160°C).
Top with a teaspoon of warmed Biscoff.
- Extra-spiced: Add 1/2 teaspoon cinnamon and a pinch of nutmeg to the crust for a warmer flavor.
- Chocolate twist: Drizzle melted dark chocolate over the Biscoff topping or fold 1/2 cup mini chocolate chips into the batter.
- Gluten-free: Use gluten-free speculoos-style cookies if available, or a gluten-free cinnamon cookie for the crust.
- Lighter version: Swap half the cream cheese for Neufchâtel and use Greek yogurt in place of sour cream. Texture will be slightly less rich but still creamy.
FAQ
Do I really need a water bath?
You’ll get your best texture with one. The steam and gentle heat keep the cheesecake silky and help prevent cracks.
If you skip it, bake low and place a pan of hot water on the lower rack to add moisture.
How do I know when it’s done?
Look for set edges and a slight wobble in the center when you nudge the pan. If the center waves like liquid, give it 5–10 more minutes. It will continue to set as it cools.
Can I use a different pan size?
Yes.
An 8-inch springform will be taller and may need 10–15 extra minutes. A 10-inch will be shorter and may bake 10 minutes faster. Keep an eye on the jiggle test rather than the clock.
What if my cheesecake cracks?
Don’t stress.
The Biscoff topping covers imperfections beautifully. Next time, avoid overmixing, use a water bath, and cool the cheesecake slowly with the oven door cracked.
Can I make this without Biscoff spread?
You can, but the flavor will be milder. Use extra crushed cookies in the crust and add 1/2 teaspoon cinnamon and 1/4 cup brown sugar to the filling to bring in more caramel-spice notes.
How should I slice it cleanly?
Use a long, sharp knife warmed in hot water and wiped dry between cuts.
This melts through the topping and keeps the layers neat.
Is this safe to freeze with the topping?
It’s better to freeze without the topping. Add the Biscoff glaze and any cookie garnish after thawing for the freshest look and texture.
Final Thoughts
This Biscoff Cheesecake is the perfect mix of comfort and celebration. It’s familiar enough for a family dinner and special enough for a birthday or holiday.
With a few simple steps and some patience during chilling, you’ll have a dessert that wows every time. Make it once, and it’ll earn a spot in your regular rotation.
Printable Recipe Card
Want just the essential recipe details without scrolling through the article? Get our printable recipe card with just the ingredients and instructions.
About the Author

Brandon D
Blogger/Fitness & Wellness Coach
I create quick, healthy, family-friendly recipes that make dinner simple, delicious, and stress-free.