Biscoff Cheesecake – A Creamy, Spiced, No-Bake Treat
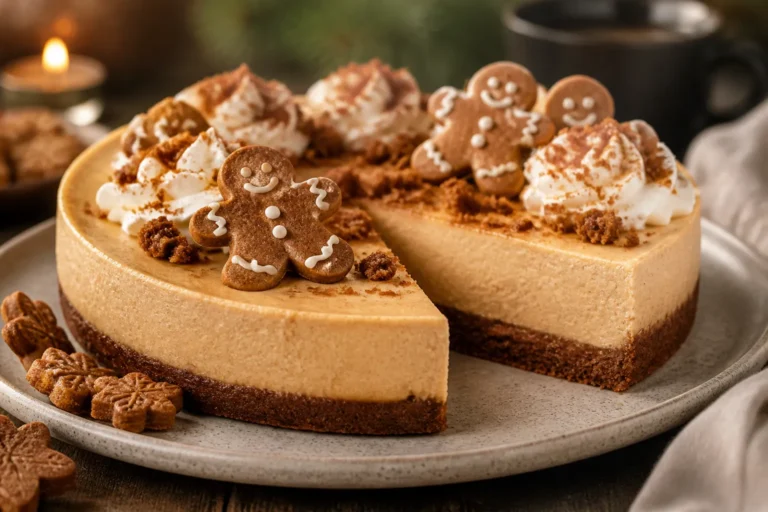
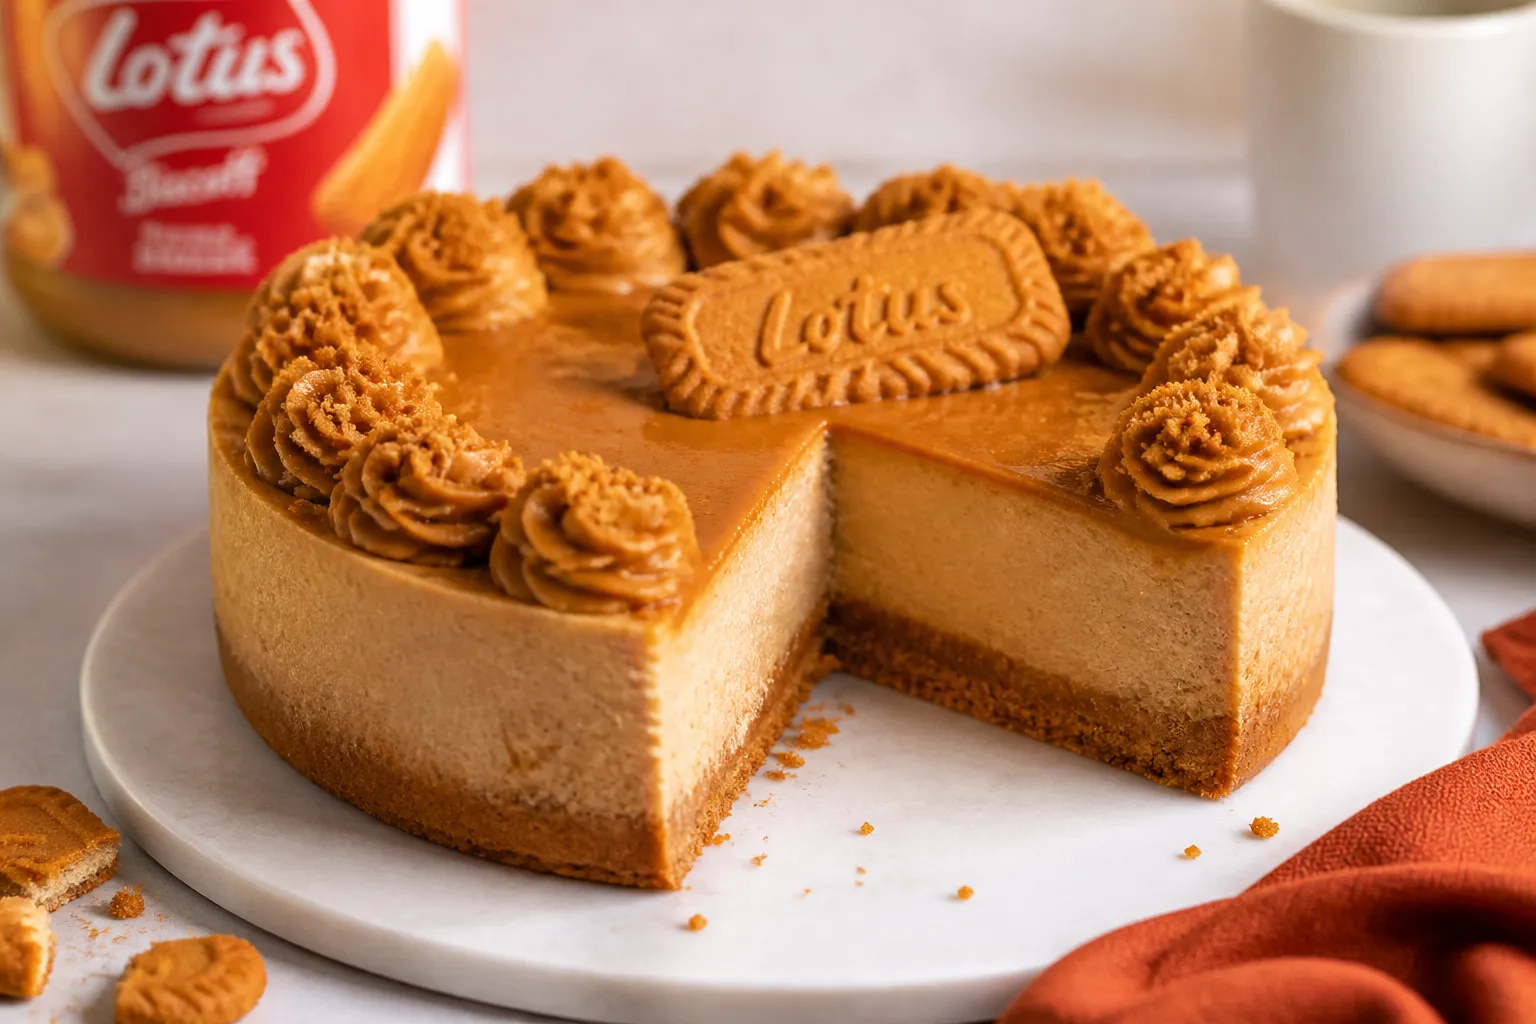
Biscoff Cheesecake is one of those desserts that feels special with surprisingly little effort. It’s rich, silky, and full of that warm, spiced cookie flavor everyone loves. No oven is needed, and the steps are simple enough for beginners.
The crust is buttery and crisp, the filling is smooth and tangy-sweet, and the topping ties it all together. If you’re looking for a dessert that impresses without stress, this is it.
Ingredients
Method
- Prep the pan: Line the bottom of a 9-inch springform pan with parchment. Lightly grease the sides for easy release.
- Make the crust: Stir cookie crumbs, melted butter, and salt until evenly moistened. Press firmly into the base and slightly up the sides of the pan. Use a flat-bottom glass to compact. Chill for 20 minutes.
- Beat the cream cheese: In a large bowl, beat cream cheese until smooth and fluffy, about 2 minutes. Scrape the bowl so there are no lumps.
- Add flavor: Mix in powdered sugar, vanilla, lemon juice (if using), and salt. Beat until smooth. Do not overbeat.
- Blend in Biscoff: Pour in the gently warmed Biscoff spread and beat on low until fully combined. The mixture should be silky.
- Whip the cream: In a separate bowl, whip heavy cream to medium-stiff peaks. It should hold shape but not look grainy.
- Fold it together: Gently fold whipped cream into the Biscoff cream cheese in two additions. Use a spatula and light strokes to keep it airy.
- Fill the crust: Spoon the filling over the chilled crust. Smooth the top with an offset spatula. Tap the pan lightly to release air pockets.
- Chill to set: Cover and refrigerate at least 6 hours, preferably overnight. The longer chill helps it slice cleanly.
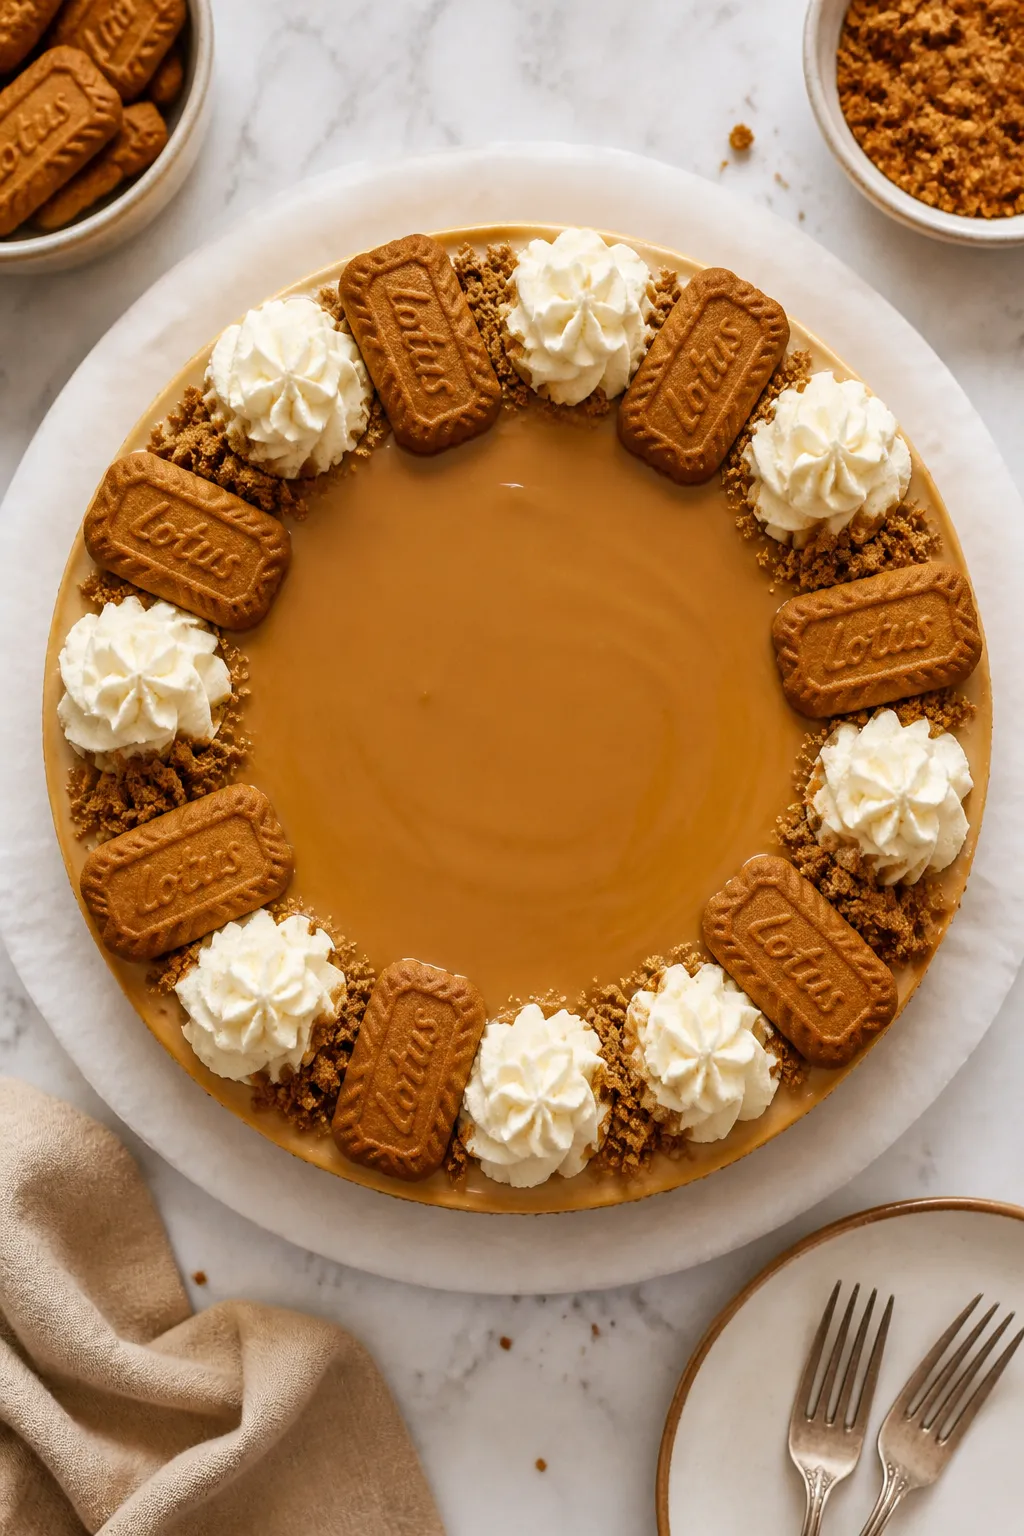
- Add the topping: Warm the Biscoff spread until pourable but not hot. Pour over the set cheesecake and tilt the pan to coat evenly. Chill 20–30 minutes to set the glaze.
- Garnish and serve: Release the springform, remove parchment, and transfer to a serving plate. Add crushed cookies or swirls of whipped cream. Slice with a hot, dry knife for neat edges.
What Makes This Recipe So Good

- No-bake convenience: No oven, no water bath, no fuss. Perfect for hot days or busy schedules.
- Bold Biscoff flavor: Crushed Biscoff cookies in the crust, creamy Biscoff in the filling, and a glossy Biscoff topping.
- Silky texture: Cream cheese and whipped cream fold together for a mousse-like finish that slices cleanly.
- Reliable set: A touch of melted Biscoff spread helps the filling firm up without gelatin.
- Make-ahead friendly: Tastes even better on day two as the flavors meld.
Ingredients
- For the crust:
- 300 g Biscoff cookies (about 10.5 oz), crushed into fine crumbs
- 115 g unsalted butter (1 stick), melted
- 1/8 tsp fine salt (skip if using salted butter)
- For the filling:
- 24 oz (680 g) full-fat cream cheese, room temperature
- 3/4 cup (90 g) powdered sugar, sifted
- 1 tsp pure vanilla extract
- 3/4 cup (180 g) Biscoff spread (cookie butter), gently warmed until pourable
- 1 cup (240 ml) heavy whipping cream, cold
- 1 tbsp lemon juice (optional, for brightness)
- Pinch of salt
- For the topping:
- 1/2 cup (120 g) Biscoff spread, gently warmed
- Extra Biscoff cookies for garnish (whole or crushed)
- Whipped cream, optional
How to Make It
- Prep the pan: Line the bottom of a 9-inch springform pan with parchment.
Lightly grease the sides for easy release.
- Make the crust: Stir cookie crumbs, melted butter, and salt until evenly moistened. Press firmly into the base and slightly up the sides of the pan. Use a flat-bottom glass to compact.
Chill for 20 minutes.
- Beat the cream cheese: In a large bowl, beat cream cheese until smooth and fluffy, about 2 minutes. Scrape the bowl so there are no lumps.
- Add flavor: Mix in powdered sugar, vanilla, lemon juice (if using), and salt. Beat until smooth.
Do not overbeat.
- Blend in Biscoff: Pour in the gently warmed Biscoff spread and beat on low until fully combined. The mixture should be silky.
- Whip the cream: In a separate bowl, whip heavy cream to medium-stiff peaks. It should hold shape but not look grainy.
- Fold it together: Gently fold whipped cream into the Biscoff cream cheese in two additions.
Use a spatula and light strokes to keep it airy.
- Fill the crust: Spoon the filling over the chilled crust. Smooth the top with an offset spatula. Tap the pan lightly to release air pockets.
- Chill to set: Cover and refrigerate at least 6 hours, preferably overnight.
The longer chill helps it slice cleanly.
- Add the topping: Warm the Biscoff spread until pourable but not hot. Pour over the set cheesecake and tilt the pan to coat evenly. Chill 20–30 minutes to set the glaze.
- Garnish and serve: Release the springform, remove parchment, and transfer to a serving plate.
Add crushed cookies or swirls of whipped cream. Slice with a hot, dry knife for neat edges.
Keeping It Fresh
Store the cheesecake covered in the fridge for up to 5 days. Keep it in an airtight container or cover the pan tightly so it doesn’t absorb fridge odors.
For longer storage, freeze slices on a sheet until firm, then wrap well and freeze up to 1 month. Thaw overnight in the fridge before serving. Wait to add whipped cream garnish until just before serving to keep it tidy.

Why This is Good for You
- Portion control is easy: A small slice satisfies thanks to the rich, creamy texture, so you don’t need much.
- Protein and calcium: Cream cheese offers a bit of both, which helps with satiety.
- Mindful indulgence: Knowing it’s a treat makes it easier to plan around balanced meals.
- Make-ahead dessert: Reduces last-minute stress, which is a small but real wellness win.
Pitfalls to Watch Out For
- Cold cream cheese leads to lumps: Always start with room-temperature cream cheese for a smooth filling.
- Overwhipping the cream: If it turns grainy, the texture will suffer.
Stop at medium-stiff peaks.
- Hot Biscoff topping: If it’s too warm, it can melt the set filling. Aim for warm and pourable, not hot.
- Rushing the chill time: Less than 6 hours makes for messy slices. Overnight is best.
- Crust too crumbly: If crumbs don’t hold, add another tablespoon of melted butter and press more firmly.
Variations You Can Try
- Swirled chocolate: Drizzle melted dark chocolate over the topping and swirl with a toothpick.
- Salted caramel finish: Add a thin layer of salted caramel under or over the Biscoff topping.
- Mini cheesecakes: Use a muffin tin with liners.
Chill 3–4 hours. Great for parties and portioning.
- Gluten-free: Use gluten-free speculoos-style cookies and confirm your spread is GF-friendly.
- Lighten it up: Swap half the cream cheese for Neufchâtel and sweeten to taste; note the set may be slightly softer.
- Spice boost: Add 1/2 tsp ground cinnamon and a pinch of nutmeg to the filling for extra warmth.
FAQ
Can I make this without a springform pan?
Yes. Use a 9-inch deep pie dish or an 8-inch square pan.
Line with parchment for easier removal. You can slice and serve directly from the dish if needed.
Do I need gelatin?
No. The combination of cream cheese, whipped cream, and Biscoff spread sets nicely in the fridge.
Just give it enough chilling time.
Can I reduce the sweetness?
Cut powdered sugar to 1/2 cup and use a lightly salted crust to balance the sweetness. You can also skip the topping and garnish with crushed cookies instead.
How do I get clean slices?
Use a long, sharp knife warmed under hot water and wiped dry between cuts. A gentle sawing motion helps keep the topping neat.
What if I only have crunchy Biscoff spread?
It works.
The filling will have a bit of texture, which some people love. For a smooth topping, use creamy for the glaze if possible.
Can I make it ahead?
Absolutely. Make it 1–2 days in advance.
Add the topping the day of serving for the best look and texture.
My crust sticks to the pan. How do I fix this?
Line the base with parchment and lightly grease the sides. After chilling, run a thin knife around the edge before releasing the latch.
Is there a dairy-free option?
Use dairy-free cream cheese and coconut whipping cream.
Flavor and set will be slightly different, but still delicious.
In Conclusion
This Biscoff Cheesecake is creamy, cozy, and easy to love. With no baking and simple steps, it’s a go-to dessert for gatherings or a weekend treat. Make it the day before, slice it clean, and enjoy that cinnamon-caramel cookie flavor in every bite.
It’s the kind of recipe you’ll keep coming back to whenever you want maximum payoff with minimal effort.
Printable Recipe Card
Want just the essential recipe details without scrolling through the article? Get our printable recipe card with just the ingredients and instructions.
About the Author

Brandon D
Blogger/Fitness & Wellness Coach
I create quick, healthy, family-friendly recipes that make dinner simple, delicious, and stress-free.