Candy Cane Cheesecake Bars – Creamy, Festive, and Easy
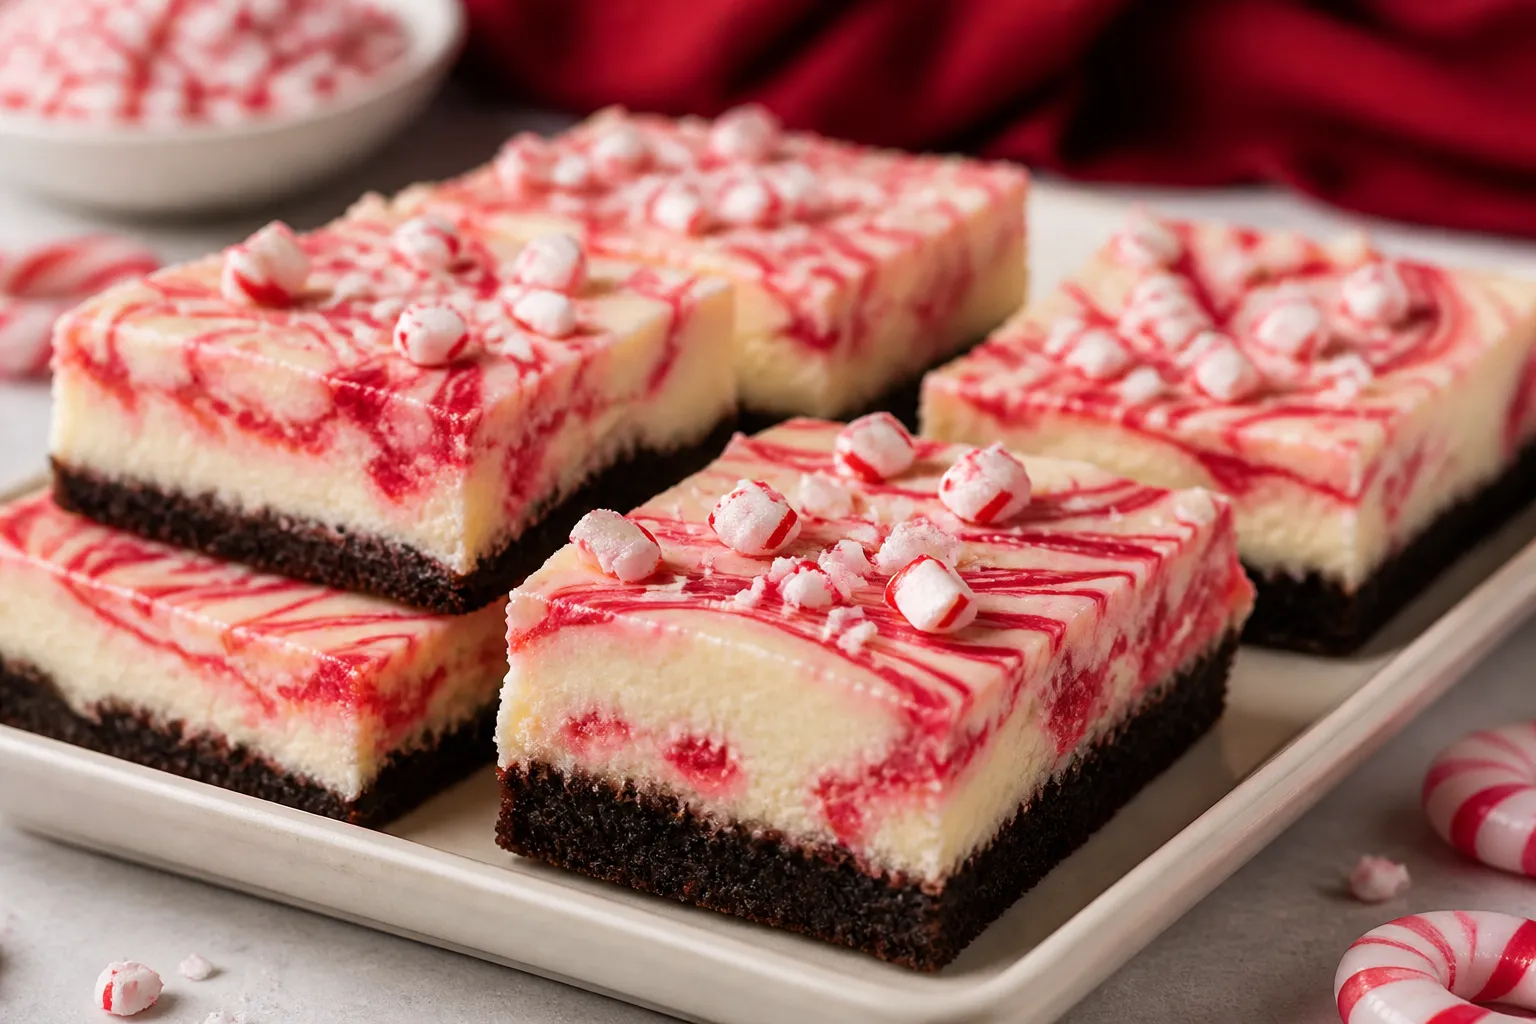
Candy cane cheesecake bars are the kind of dessert that make people smile before they even take a bite. They’re creamy, minty, and full of holiday cheer, with a pretty swirl of pink and a crunch of peppermint on top. If you love cheesecake but prefer an easy, shareable bar, this recipe is for you.
The crust is chocolatey, the filling is silky, and the whole thing feels special without a lot of fuss. Serve them at a party, bring them to a cookie exchange, or stash a few in the fridge just for you.
Ingredients
Method
- Prep the pan: Heat oven to 325°F (163°C). Line a 9x9-inch baking pan with parchment, leaving overhang for easy lifting. Lightly grease the sides.
- Make the crust: Combine cookie crumbs, melted butter, sugar, and salt until the texture resembles wet sand. Press firmly and evenly into the pan. Bake for 8–10 minutes, then cool slightly.
- Beat the cream cheese: In a large bowl, beat cream cheese and sugar on medium speed until smooth and fluffy, about 2 minutes. Scrape the bowl well.
- Add the rest: Mix in sour cream, vanilla, and peppermint extract. Sprinkle in cornstarch and blend on low just to combine. Add eggs one at a time, mixing on low until just incorporated. Avoid overbeating.
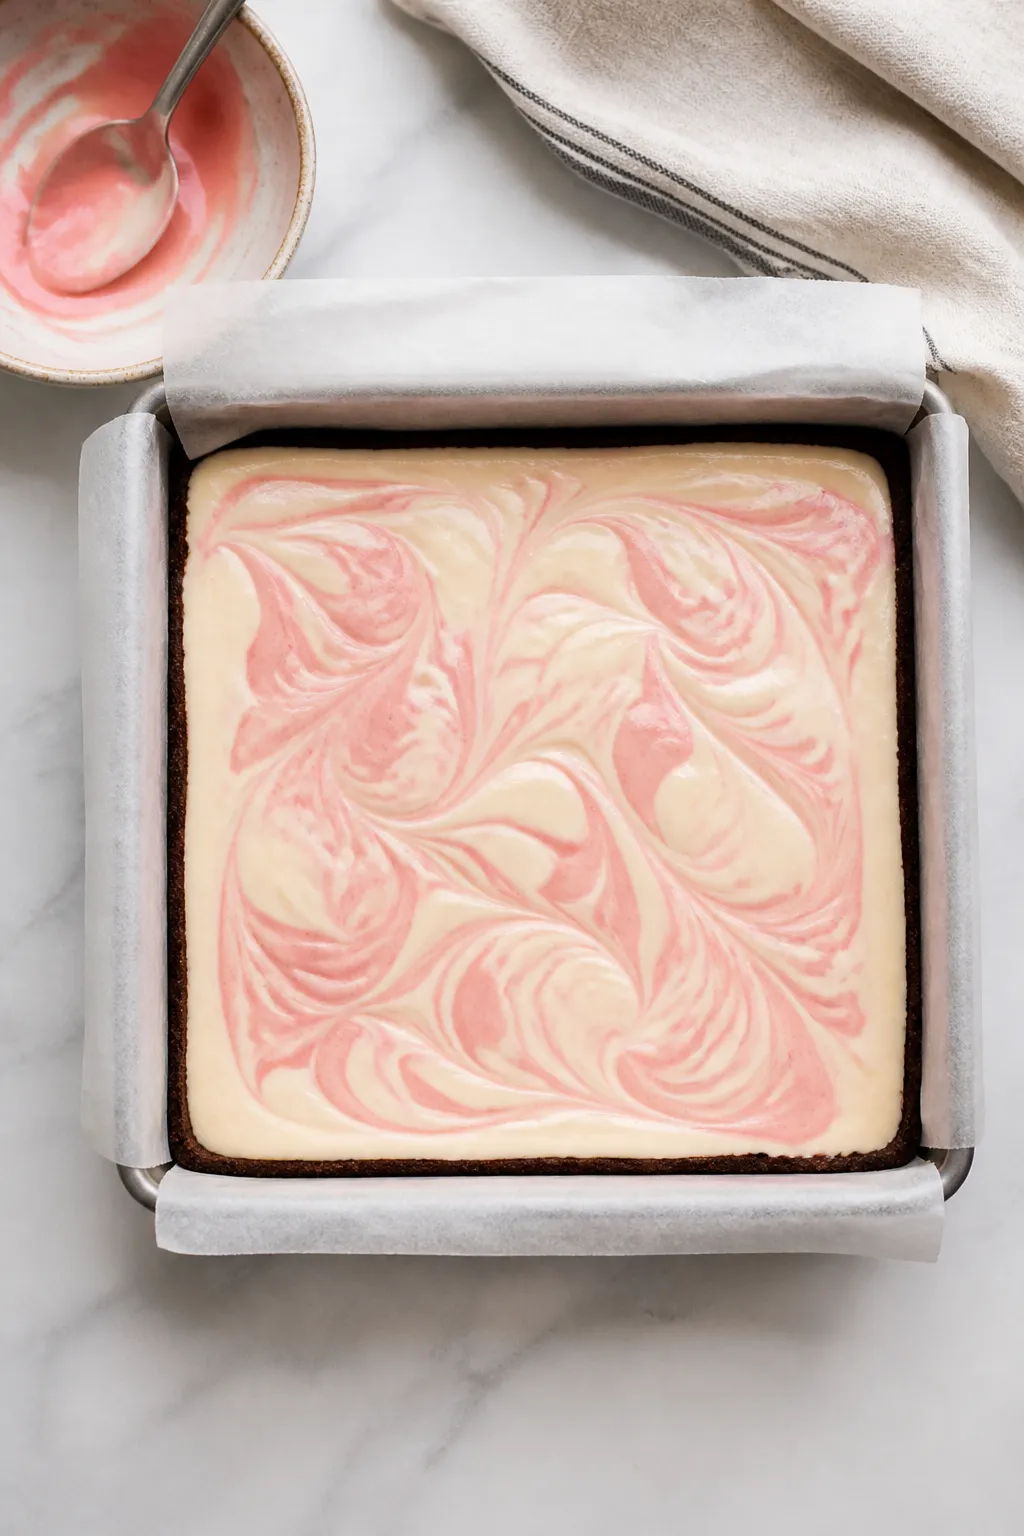
- Color swirl (optional): Remove about 1/3 cup of batter to a small bowl and tint with a drop or two of gel coloring. Pour the plain batter over the crust, then dot with the tinted batter. Swirl gently with a toothpick or knife.
- Bake: Bake at 325°F for 28–34 minutes, until the edges are set and the center wobbles slightly when jiggled. Do not overbake.
- Cool gradually: Turn off the oven, crack the door, and let the bars sit for 10 minutes. Remove and cool to room temperature. Chill, covered, for at least 3 hours (overnight is ideal).
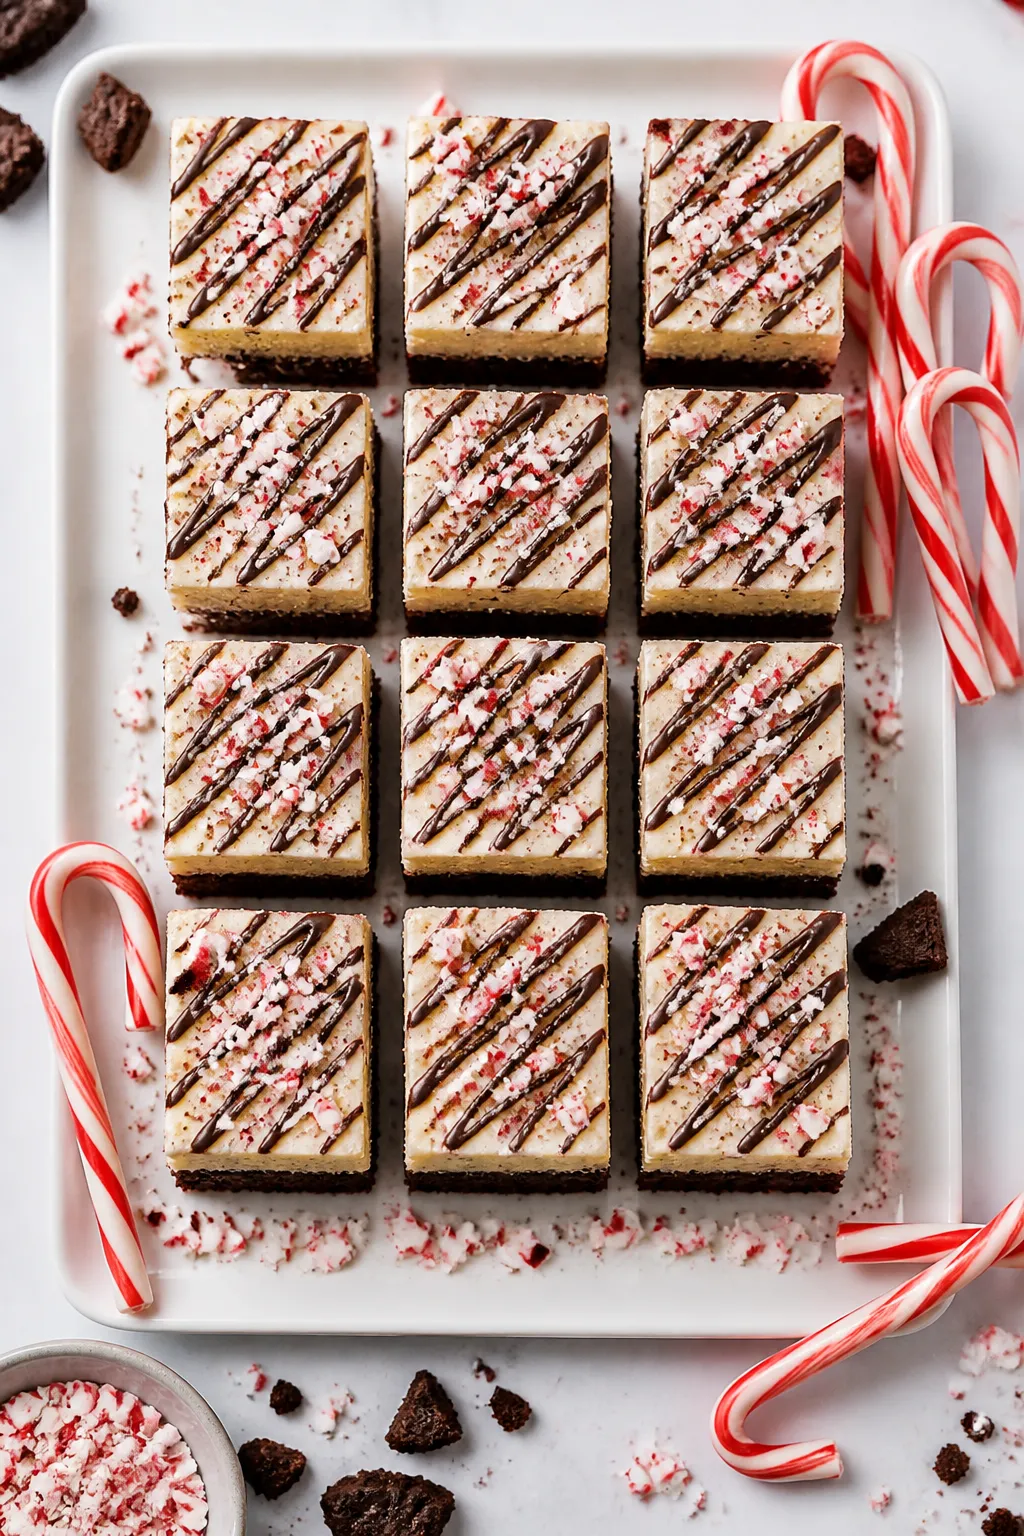
- Add topping: Just before serving, sprinkle crushed candy canes on top. For extra flair, add mini chocolate chips or a zigzag of melted chocolate.
- Slice cleanly: Lift the slab out with parchment. Use a hot, dry knife for neat cuts, wiping between slices.
What Makes This Special
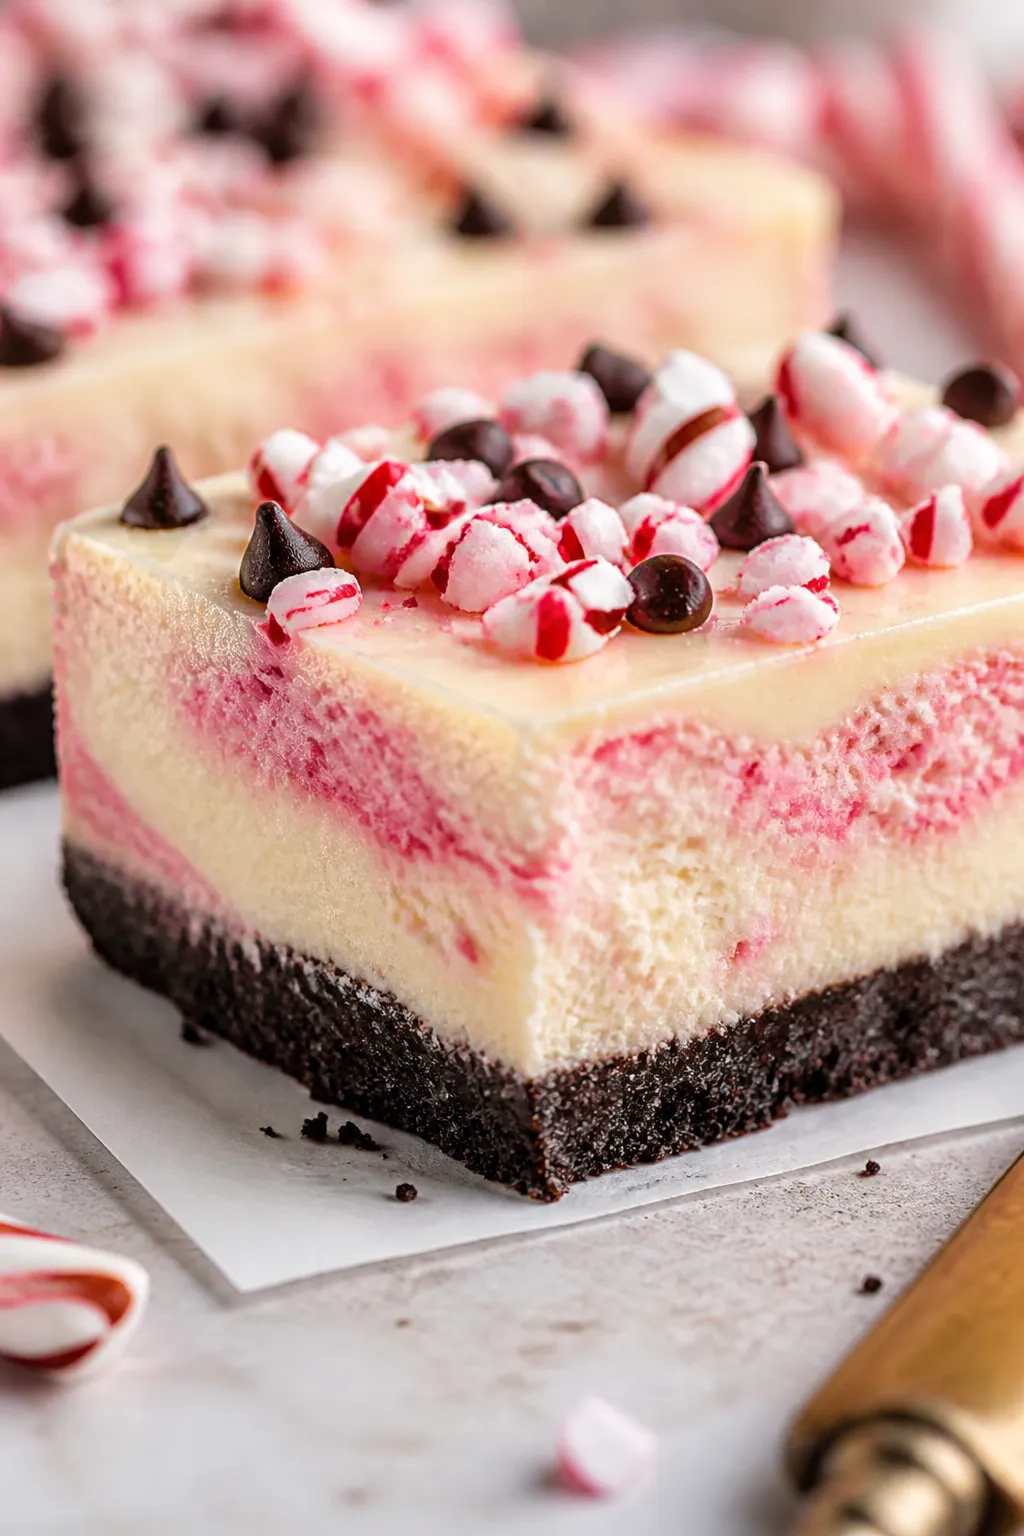
- Balanced flavor: The cool peppermint pairs beautifully with rich, tangy cheesecake and a chocolate cookie crust.
- Easy to slice and share: Bars cut cleanly and travel well, making them a holiday potluck favorite.
- Festive look: A pink swirl and crushed candy canes add instant holiday vibes without complicated decorating.
- Make-ahead friendly: Cheesecake improves after chilling, so you can prep it a day in advance.
- Customizable: Adjust the mint, skip the food coloring, or swap crusts to fit your taste.
Ingredients
- Crust
- 24 chocolate sandwich cookies (like Oreos), crushed into fine crumbs
- 5 tablespoons unsalted butter, melted
- 1 tablespoon granulated sugar
- Pinch of salt
- Cheesecake Filling
- 16 ounces cream cheese, softened to room temperature
- 2/3 cup granulated sugar
- 2 large eggs, room temperature
- 1/2 cup sour cream, room temperature
- 1 teaspoon pure vanilla extract
- 1/2 to 3/4 teaspoon peppermint extract (to taste)
- 1 tablespoon cornstarch (or 2 teaspoons all-purpose flour)
- 1–2 drops red or pink gel food coloring (optional, for swirl)
- Topping
- 1/2 cup finely crushed candy canes or peppermint candies
- Optional: 1/2 cup mini chocolate chips or melted chocolate drizzle
How to Make It
- Prep the pan: Heat oven to 325°F (163°C). Line a 9×9-inch baking pan with parchment, leaving overhang for easy lifting.
Lightly grease the sides.
- Make the crust: Combine cookie crumbs, melted butter, sugar, and salt until the texture resembles wet sand. Press firmly and evenly into the pan. Bake for 8–10 minutes, then cool slightly.
- Beat the cream cheese: In a large bowl, beat cream cheese and sugar on medium speed until smooth and fluffy, about 2 minutes.
Scrape the bowl well.
- Add the rest: Mix in sour cream, vanilla, and peppermint extract. Sprinkle in cornstarch and blend on low just to combine. Add eggs one at a time, mixing on low until just incorporated.
Avoid overbeating.
- Color swirl (optional): Remove about 1/3 cup of batter to a small bowl and tint with a drop or two of gel coloring. Pour the plain batter over the crust, then dot with the tinted batter. Swirl gently with a toothpick or knife.
- Bake: Bake at 325°F for 28–34 minutes, until the edges are set and the center wobbles slightly when jiggled.
Do not overbake.
- Cool gradually: Turn off the oven, crack the door, and let the bars sit for 10 minutes. Remove and cool to room temperature. Chill, covered, for at least 3 hours (overnight is ideal).
- Add topping: Just before serving, sprinkle crushed candy canes on top.
For extra flair, add mini chocolate chips or a zigzag of melted chocolate.
- Slice cleanly: Lift the slab out with parchment. Use a hot, dry knife for neat cuts, wiping between slices.
Storage Instructions
- Refrigerator: Store in an airtight container for 4–5 days. Add crushed candy canes just before serving to keep them crisp.
- Freezer: Freeze sliced bars (without candy cane topping) on a sheet until firm, then wrap individually and place in a freezer bag for up to 2 months.
Thaw overnight in the fridge, then top with candy canes.
- Transport: Keep chilled in a cooler pack. Add candy canes at the destination to prevent melting or color bleed.
Health Benefits
- Portion control: Bars make it easier to serve modest slices, helping manage sugar and calorie intake.
- Protein and calcium: Cream cheese and sour cream contribute small amounts of protein and calcium.
- Mood boost: The peppermint flavor can feel refreshing and uplifting, which many find satisfying with less quantity.
- Customizable swaps: You can use reduced-fat dairy or a lighter crust to tweak the nutrition profile.
Pitfalls to Watch Out For
- Overmixing the batter: Too much air can cause cracks. Mix on low and stop when combined.
- Overbaking: Look for a slight jiggle in the center.
If it’s fully firm, it’s likely overdone.
- Warm ingredients missing: Cold cream cheese leads to lumps. Room temperature ingredients blend smoothly.
- Topping too early: Candy canes can melt or bleed on warm cheesecake. Add them just before serving.
- Loose crust: Press crumbs firmly and pre-bake so the base holds together when sliced.
Alternatives
- Crust swaps: Try chocolate graham crackers, Biscoff cookies, or a classic graham crust.
Add 1 tablespoon cocoa to graham crumbs for more chocolate flavor.
- Flavor twists: Replace peppermint extract with 1 teaspoon orange zest plus 1/2 teaspoon vanilla for a creamsicle vibe, or use almond extract for a nutty note.
- No food coloring: Skip it and keep the bars naturally creamy white with red candy cane speckles.
- Gluten-free: Use certified gluten-free chocolate sandwich cookies. Ensure all add-ins are gluten-free.
- Lighter version: Use Neufchâtel (1/3-less-fat) cream cheese and light sour cream. Texture stays creamy with a slight tang.
- Chocolate boost: Fold in 1/2 cup mini chips or top with a dark chocolate ganache layer after chilling.
FAQ
Can I use a 9×13-inch pan instead?
Yes, but the bars will be thinner.
Bake 5–8 minutes less and start checking early. For thicker bars in a 9×13, increase filling by about 50%.
How do I prevent cracks?
Use room temperature ingredients, avoid overmixing, bake at a moderate temperature, and stop when the center still has a gentle jiggle. Cooling slowly also helps.
Is peppermint extract the same as mint extract?
No.
Peppermint extract tastes like candy canes, while mint extract often blends spearmint and peppermint. For a classic candy cane flavor, use peppermint.
Can I make these ahead?
Absolutely. They’re best after a long chill.
Make them a day before serving and add candy canes right before you plate them.
What if I don’t have chocolate sandwich cookies?
Use chocolate graham crackers with an extra tablespoon of sugar and 1 tablespoon cocoa powder. Adjust butter as needed to achieve a wet-sand texture.
Do I need a water bath?
Not for bars. The thinner layer bakes evenly without it.
Just avoid overbaking and cool gradually.
How strong should the peppermint be?
Start with 1/2 teaspoon, then taste the batter. Add up to 3/4 teaspoon if you like a bolder mint flavor.
Why did my candy cane topping get sticky?
Humidity or warm cheesecake can melt the candy. Add the topping right before serving and store leftovers covered and chilled.
Can I use crushed peppermints instead of candy canes?
Yes.
They behave similarly and often stay crunchy a bit longer.
How do I get clean slices?
Chill thoroughly, then use a hot, dry knife. Wipe the blade between cuts for sharp edges and neat layers.
In Conclusion
Candy cane cheesecake bars deliver everything you love about holiday desserts in a neat, festive square. They’re creamy, minty, and easy to share, with a chocolate crust that ties it all together.
Make them ahead, slice them clean, and sprinkle the candy canes at the last minute for the prettiest finish. Simple steps, standout results—exactly what you want during the busy season.
Printable Recipe Card
Want just the essential recipe details without scrolling through the article? Get our printable recipe card with just the ingredients and instructions.
About the Author

Brandon D
Blogger/Fitness & Wellness Coach
I create quick, healthy, family-friendly recipes that make dinner simple, delicious, and stress-free.